

Guide · custom healing abutments
Custom healing abutments: what they are, four ways to make one, and what each costs per case
A custom healing abutment shapes the peri-implant soft tissue into the cervical cross-section of the tooth being replaced while the site heals, so the final crown emerges from tissue that already has the right contour. This page compares the ways to make one, with the time, control and cost of each.
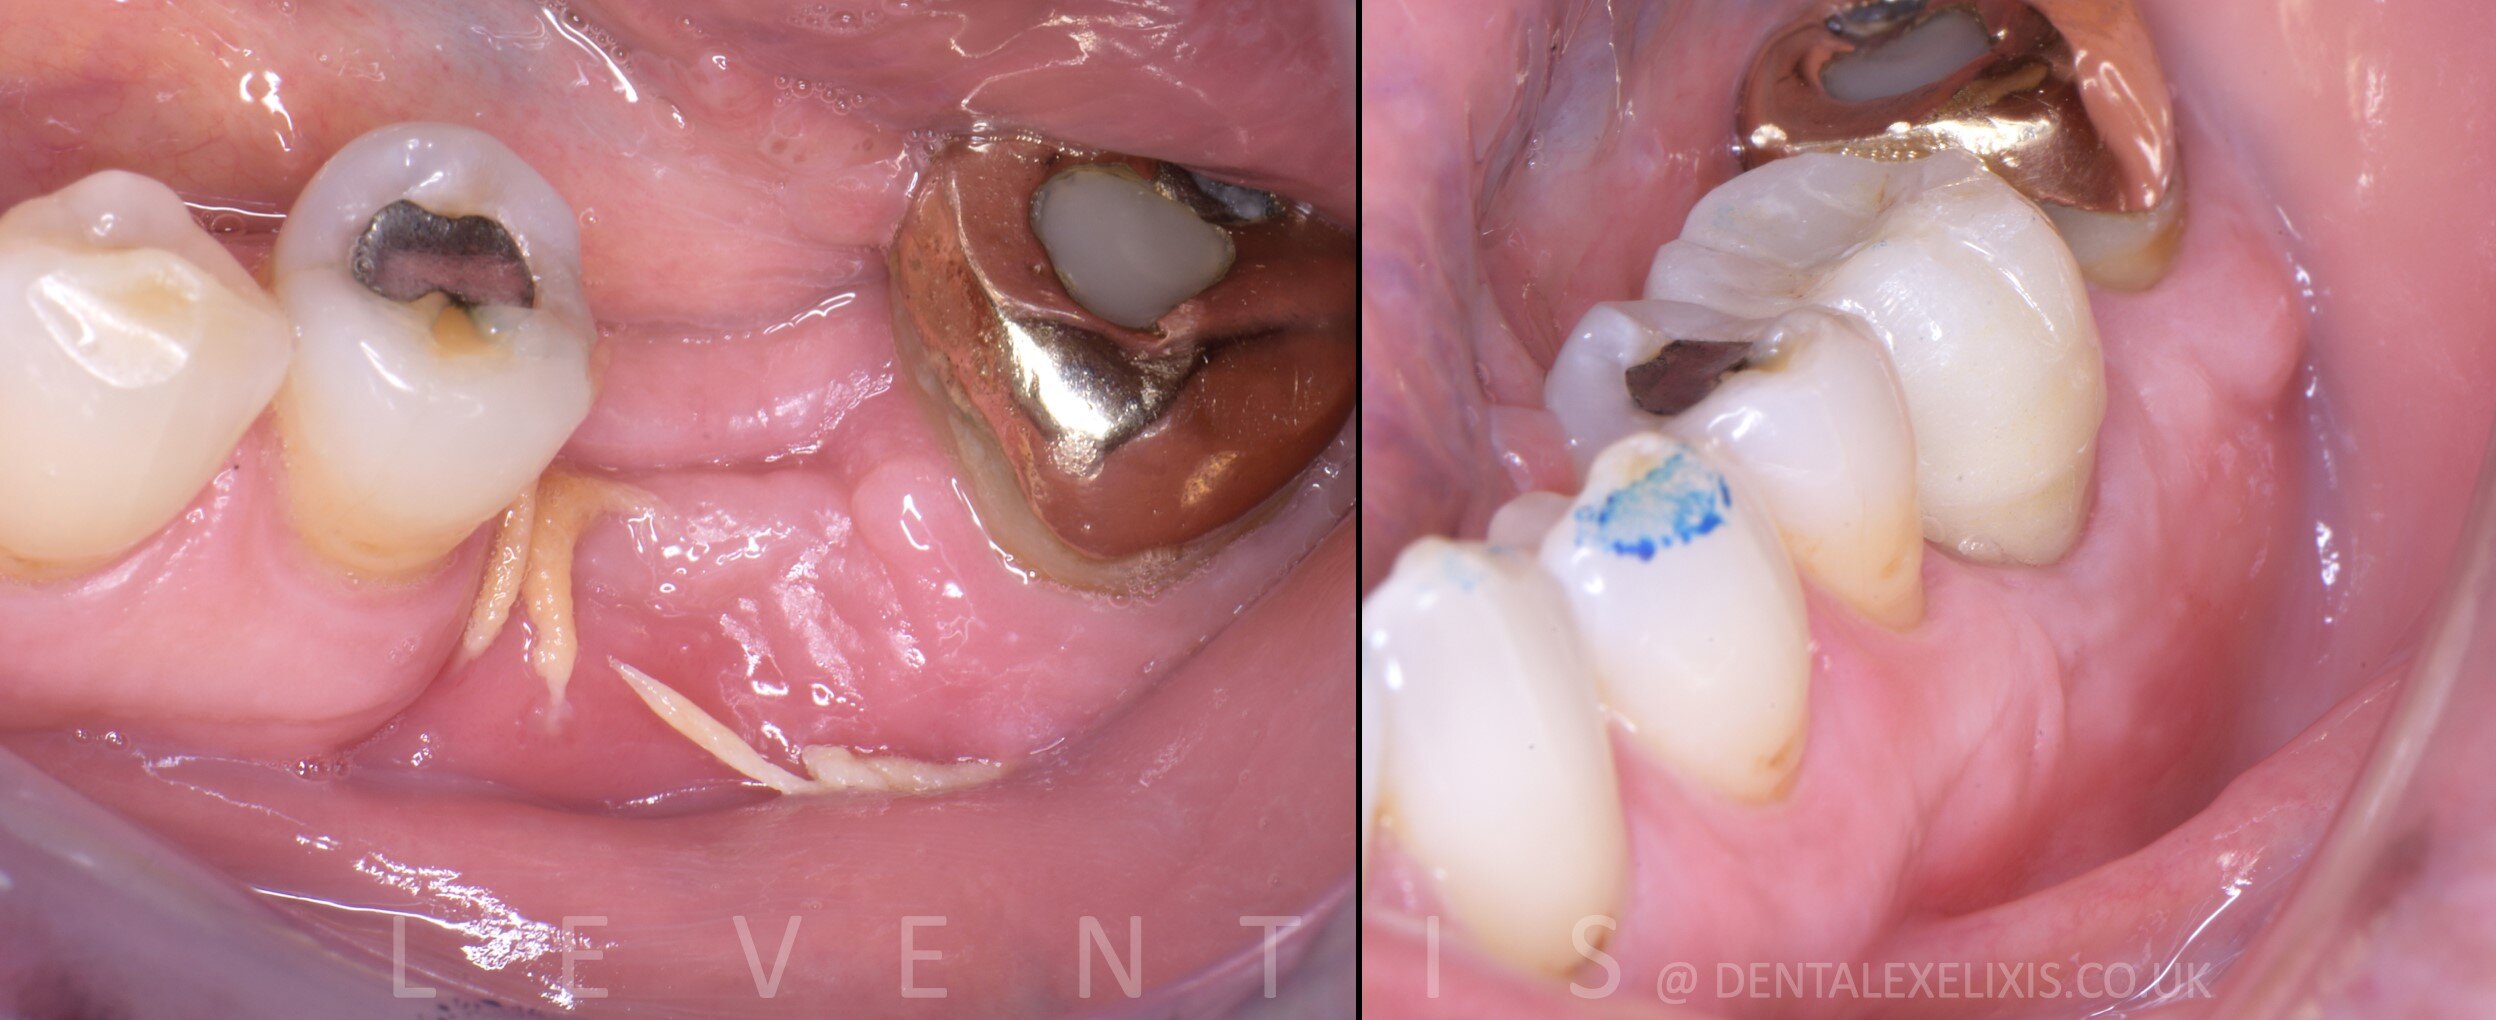

Why the shape of the healing abutment matters
A stock healing abutment is a cylinder. The mucosa heals around a round, narrow collar, and at the impression appointment the restorative team has to push a tooth-shaped crown through tissue that has healed to the wrong shape. Either the crown rides over the tissue as a ridge-lap, which traps plaque, or the tissue is displaced under anaesthesia at delivery, which is unpredictable and uncomfortable.
An anatomical, custom healing abutment carries the emergence profile of the tooth from the day of surgery. The soft tissue matures around it while remodelling is still plastic, so by the impression the site already holds the contour of the final crown. In immediate placement the same abutment seals the socket over the graft, which is what the literature calls a sealing socket abutment.
Four ways to make a custom healing abutment
All four end with composite or a milled material on a temporary abutment. They differ in how the shape is chosen, how repeatable it is, what else they tell you before you drill, and what each case costs.
| Freehand composite | Silicone index or DIY mold | CAD/CAM per case (milled or printed, incl. SSA) | Stock anatomical PEEK abutments | Cervico Guide + Mold | |
|---|---|---|---|---|---|
| Chair time per abutment | 10–20 min, operator dependent | 5–10 min | Days: scan, design, manufacture, second visit | Minutes, no fabrication | Under 5 min |
| Shape library | Whatever the hand produces | Usually 3 generic wells | One design per case | A few shapes per system | 12 anatomical profiles, 4 tooth groups, 3 sizes, plus 12 off-centre wells |
| Diagnosis before the drill | None | None | Software planning, if a guide is made | None | Guide measures mesio-distal space, marks the osteotomy, checks angulation, picks the profile in the mouth |
| Depth and orientation control | None | None | In the design | Fixed by the part | 0–3 mm sub-crestal, hex facing buccal (Premium) |
| Duplicate impression post | Not reproducible | Approximate | Scan body or custom post | System scan body | 1:1 from the same well (Premium) |
| Implant compatibility | Any | Any | Any, with the lab’s library | One system per part | Any: Essential takes stock analogs, Premium uses a VPI insert per system |
| Who can prefabricate | The clinician | The clinician | The lab | Nobody needs to | An assistant, in advance (Premium) |
| Cost model | Composite only | Low one-off + composite | Design + manufacture fee every case | Single-use part every case | One-off kit, reusable and autoclavable; composite per case |
A fair word on the cheap options. A three-well silicone index or a printed mold will give you a better shape than a cylinder, and for an occasional case that may be enough. What they do not give you is the diagnosis before drilling, sizes, depth and orientation control, or an impression post that matches the abutment. Those are the parts that make the result repeatable across operators and cases.
The chairside workflow, in four steps
- STEP 01 · EVALUATE
Place the Cervico Guide over the site. The cylindrical tabs confirm the mesio-distal space and mark the osteotomy; the anatomical tabs pick the cervical profile that matches the tooth.
- STEP 02 · FABRICATE
Thread a temporary abutment into the matching well of the Mold, fill with flowable composite, light cure, unthread, trim and polish.
- STEP 03 · DELIVER
Torque the healing abutment onto the implant. Tissue shaping starts at the surgical appointment, with no lab and no second visit.
- STEP 04 · IMPRESS / SCAN
With the Premium Mold, make the duplicate impression post in the duplication well, so the lab receives the emergence profile the tissue actually healed into. Otherwise scan.
The full protocol, component by component, is on how Cervico works. The reasons for composite rather than PEEK or titanium are on why composite.
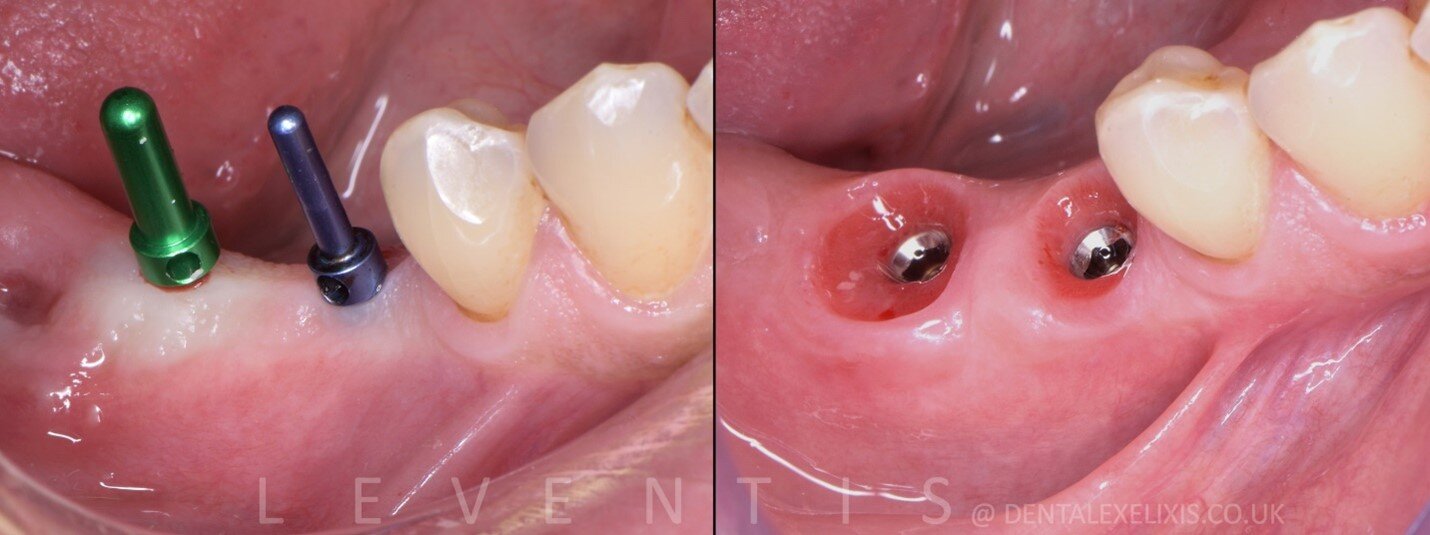
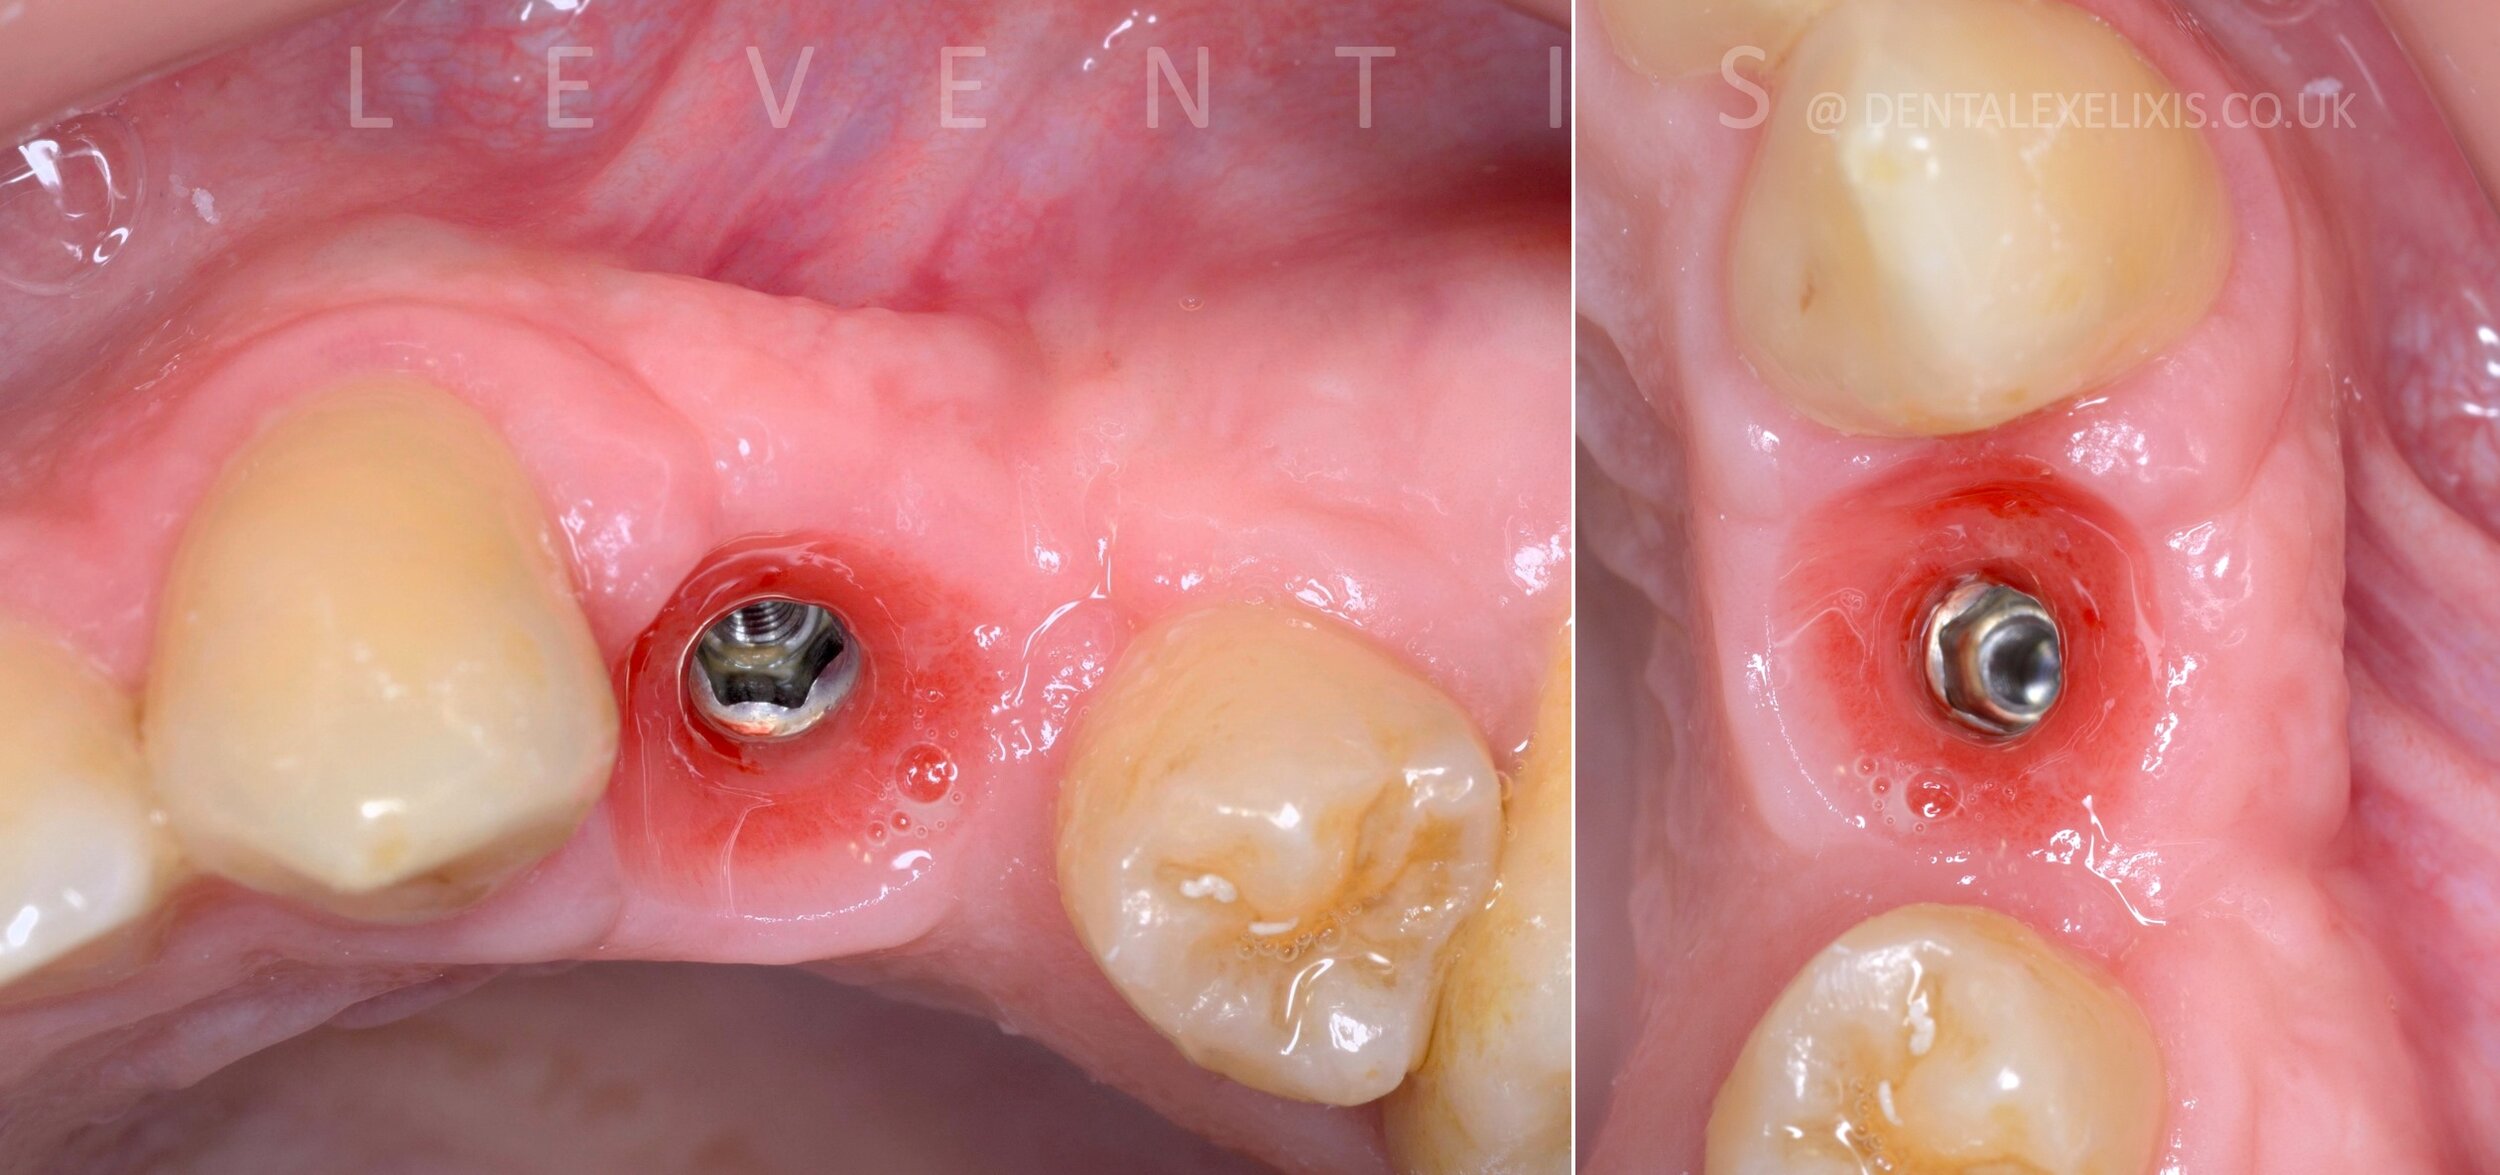
Two cases
What the literature and the teaching say
Custom healing abutments are not a proprietary idea. A free continuing-education course on dentalcare.com teaches chairside fabrication with a temporary abutment, a cervical former and flowable composite, which is the Cervico technique. Peer-reviewed reports describe the same approach and the sealing socket abutment in immediate placement. Cervico is the manufacturer of the former and the diagnostic guide that make the technique fast and repeatable.
- Chairside fabrication of custom healing abutments. Continuing education course CE684, dentalcare.com (P&G).
- Finelle G, Lee SJ. Guided immediate implant placement with wound closure by computer-aided design/computer-assisted manufacture sealing socket abutment: case report. Int J Oral Maxillofac Implants 2017.
- Narrative review of customized healing abutments, 2022 (PubMed Central, PMC9781385).
- Bishara M, Kurtzman GM, Krause ES. Implant restorations: establishing a proper emergence profile. Compendium of Continuing Education in Dentistry 2020;41(8). Clinical figures by I. Vergoullis.
- Vergoullis I, et al. Customized implant emergence profile using the VPI management system: an innovative approach. Clin Oral Implants Res 2017;28(Suppl 14):343 (EAO congress abstract).
- Pelekanos S, Vergoullis I. Clinical advances in implant transmucosal contouring for single implant sites: prosthetic and biologic considerations. Int J Periodontics Restorative Dent 2023;43(3):301–310.
- Samad AA. Optimizing soft tissue emergence profile around one-piece dental implants. Erbil Dental Journal 2024;7(2):174–178. Chairside composite profiles made with the Cervico mold on 137 implants.
- Mattheos N, Vergoullis I, Janda M, Miseli A. The implant supracrestal complex and its significance for long-term successful clinical outcomes. Int J Prosthodont 2021;34(1):88–100.
- Dounis T, Jimenez Ortiz V. Dental implants placed in fresh human extraction sockets without osteotomy: a case series. Clin Exp Dent Res 2025;11(3):e70159. Anatomical healing abutments made with the Cervico system.
- El Touliani SN, Abdelhamid AM, Fahmy NMH, Aly YM. Immediate versus early anterior implant placement with customized healing abutments: 12-month randomized split-mouth trial. Front Dent Med 2026;7:1884486. Abutments fabricated chairside with the Cervico Kit.
- Leventis M, Mitsika I, Vergoullis I, Valavanis K. Supracrestal complex prosthetic modification and topical oxygen therapy for peri-implant mucositis resolution. Cureus 2025;17(8):e90181. Cervico Guide, Caliper and Essential Mold.
- Kouveliotis G, et al. Customizing implant emergence profile and provisional prostheses: combination of the digital and the analog protocol. J Clin Exp Dent 2024;16(6):e789–793. Cervico Guide and Mold with a digital workflow.
- Miselli A, et al. Implant supracrestal complex conditioning through the “X technique”. Rev Cient Odontol 2025;13(2):e246. Cervico as the emergence profile conformer.
- Cervico by VPI. Product feature, British Dental Journal 2022;233(1):63.
Cost per case, not price per box
A kit is bought once and used for years. Per case, the consumables are a fraction of a syringe of flowable composite and the temporary abutment you would use for a provisional anyway. Divide the kit price by the implants you place in a year, and the cost per case in year one is in the range of a single lab-made component; from year two it is close to the composite alone. A CAD/CAM abutment carries its design and manufacturing fee on every case; a stock anatomical PEEK abutment is a single-use part on every case, tied to one implant system.
Not sure which kit fits your volume and implant systems? Find your Cervico in thirty seconds.
Common questions
How long does a custom healing abutment take to make chairside?
With a mold system, under five minutes from choosing the profile to torquing the abutment on the implant: fill, cure, unthread, polish. Freehand composite takes longer and depends on the operator. Lab or CAD/CAM abutments take days and a second appointment.
Which implant systems can I use a custom healing abutment with?
Any system that has a temporary (titanium) abutment. The composite is shaped on that abutment, so the connection stays the manufacturer’s own. The Cervico Essential Mold uses your stock analogs; the Premium Mold uses a VPI insert for your system.
Is composite safe against peri-implant soft tissue?
Polished composite healing abutments and provisionals have been used and documented for years. The tissue-contact surface must be highly polished and free of unpolymerised resin. See the why composite page and the references below.
Can my assistant pre-fabricate the abutments?
With the Premium Mold, yes: the insert fixes depth and orientation, so an abutment made in advance seats the same way in the mouth. With freehand or index techniques the result depends on whoever holds the abutment.
What does a custom healing abutment cost per case?
A kit is a one-off purchase that is reused for years; per case you use a fraction of a syringe of flowable composite plus the temporary abutment you would use anyway. CAD/CAM and lab-made abutments carry a design and manufacturing fee on every case. At typical volumes the kit is amortised within the first year.
Custom healing abutment or sealing socket abutment: is there a difference?
A sealing socket abutment (SSA) is a custom healing abutment used at immediate placement to close the socket and protect the graft. The concept was described by Finelle and Lee in 2017 with CAD/CAM; the same shape can be made chairside in the Cervico Mold at the surgical appointment. See the sealing socket abutment.