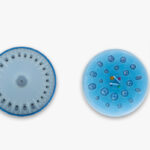
Clinical case · Premolar and molar
A premolar and a molar, flapless pilot through the Guide, no membranes
Dr. Minas Leventis
Long-term edentulism with over-erupted opposing teeth. Two adjacent implants, one site with a medium and one with a thin tissue phenotype, where the peri-implant soft tissue and the emergence profile had to be redesigned, not preserved. Simple and effective surgery, done without soft-tissue grafts.
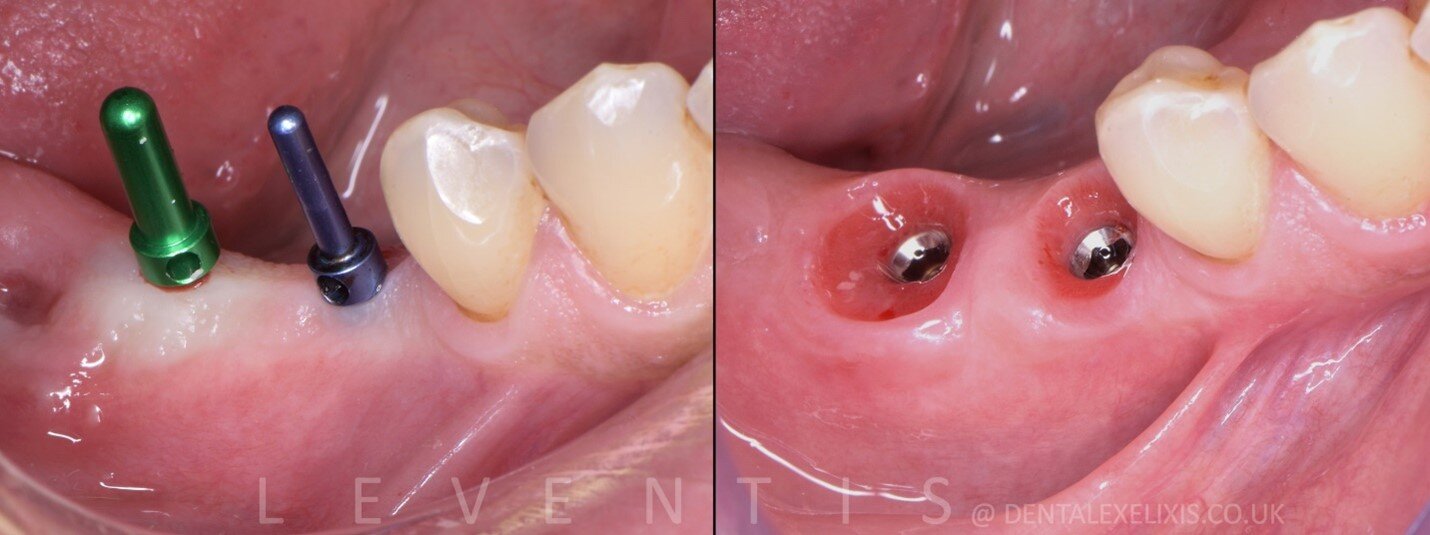
Adjacent lower premolar and molar sites, long-term edentulism; medium and thin tissue phenotypes
Keystone Paltop Dynamic, two adjacent
Set with the Cervico depth gauge: 4 mm platform to margin
Two custom Cervico healing abutments
b-TCP / calcium sulfate, no barrier membrane
Profile established at 3 months, screw-retained crowns
The protocol
-

STEP 01
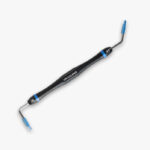
Pilot trephinations flapless through the Cervico tabs as a surgical stent. Cervico pins verify position and orientation. Then a full-thickness flap, bed preparation and implant placement.
-

STEP 02
How deep? The biological width needs 3.5 to 4 mm. The depth gauge reads placement depth and soft-tissue thickness; depth is adjusted to 4 mm in total. The anatomical tabs then pick each profile and the matching well makes each abutment.
-

STEP 03
Custom Cervico healing abutments fitted. The area augmented with a b-TCP / calcium sulfate biomaterial according to published protocols. No barrier membranes.
-

STEP 04
Flap positioned buccally with small Palacci incisions and sutured with SKD monofilament 5-0. Prosthetic canals sealed with SilverPlug instead of PTFE.
-

STEP 05
Bluem oxygen-releasing gel as disinfectant and to promote soft-tissue healing around the abutments.
-

STEP 06
Two weeks post-op: uneventful healing.
-

STEP 07
Three months post-op. Adequate tissue shape, quality and volume have been re-established; all the information now transfers to the lab.
-

STEP 08
Screw-retained crowns seated, with the periapical radiograph. The crowns read short because the opposing teeth over-erupted during the years of edentulism.
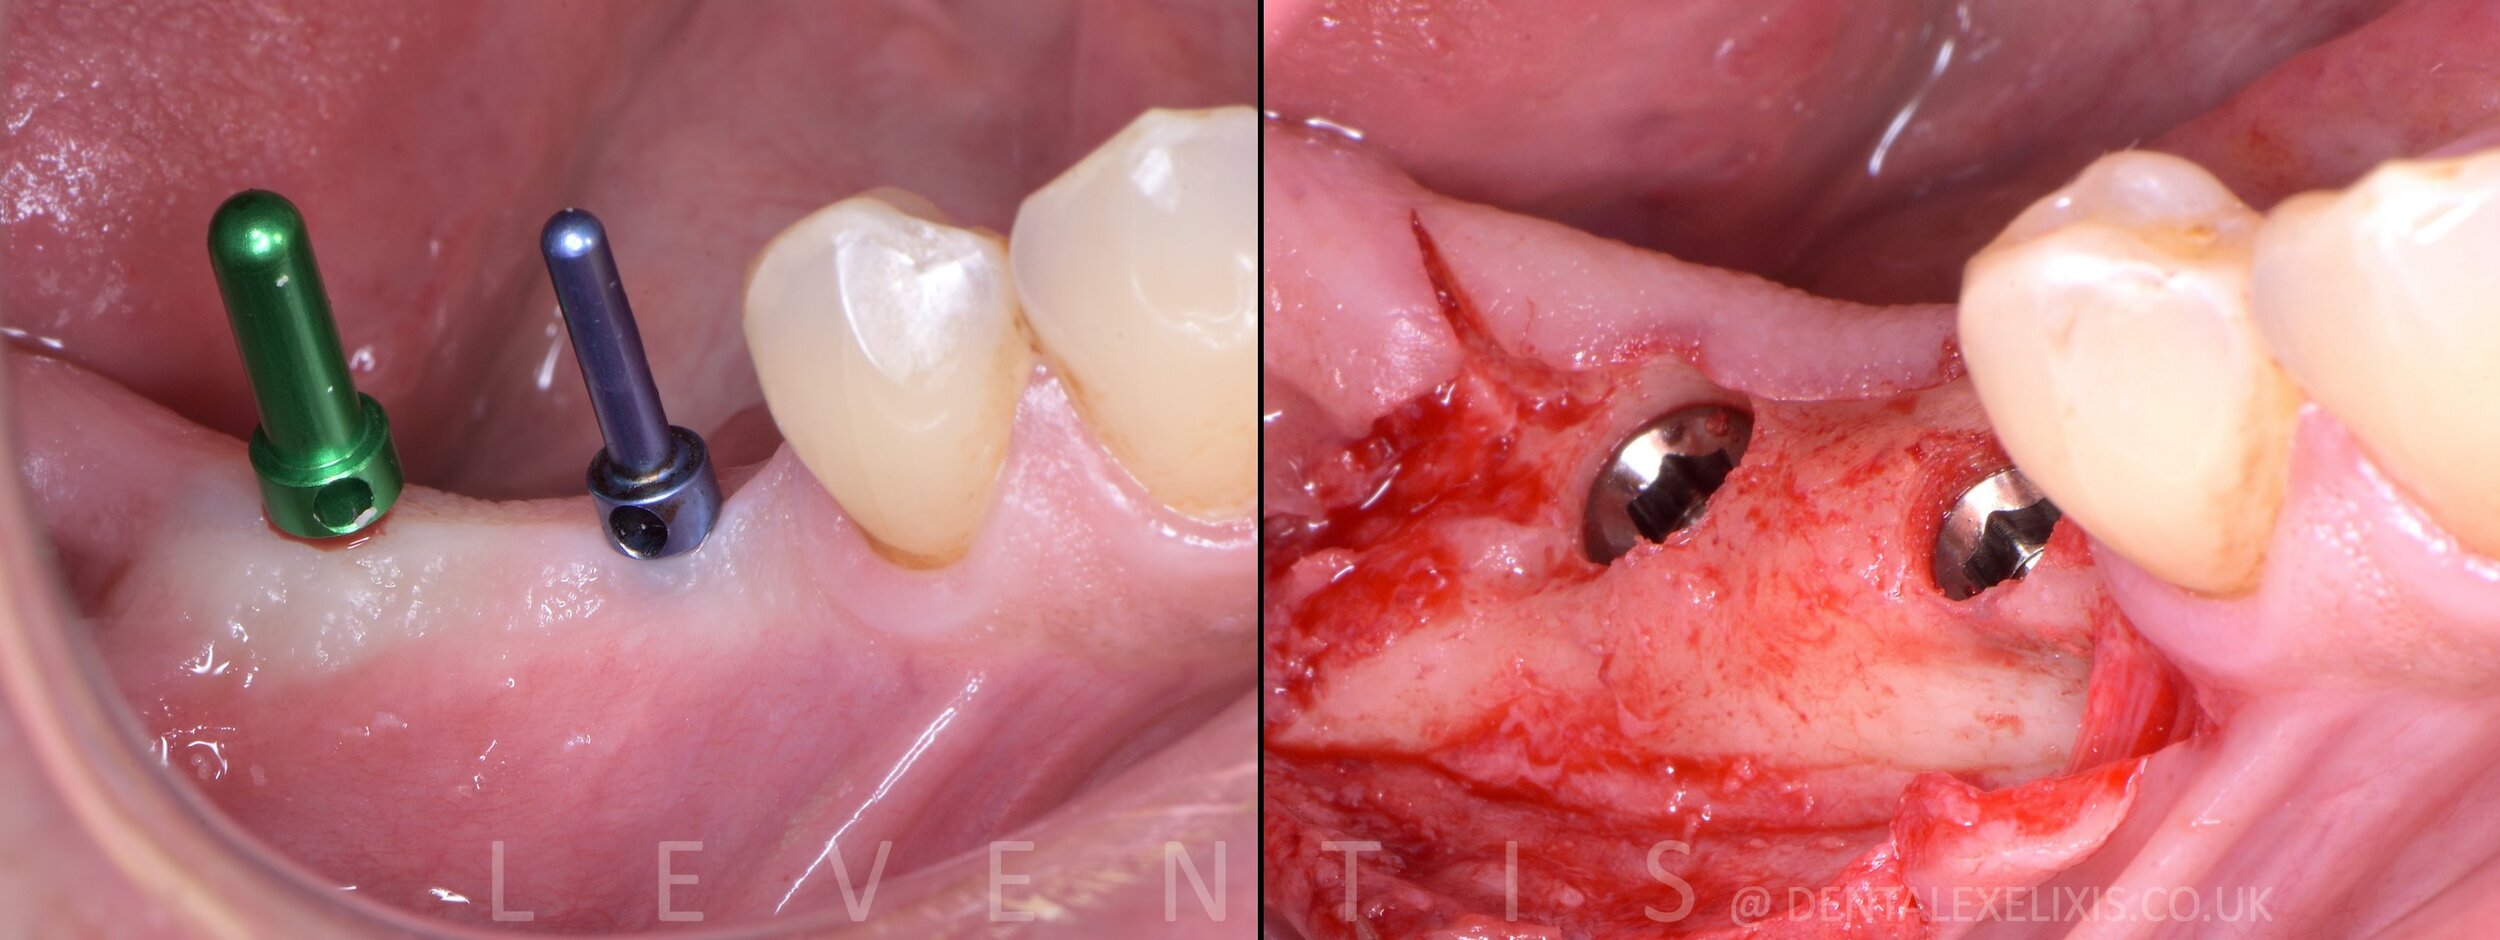
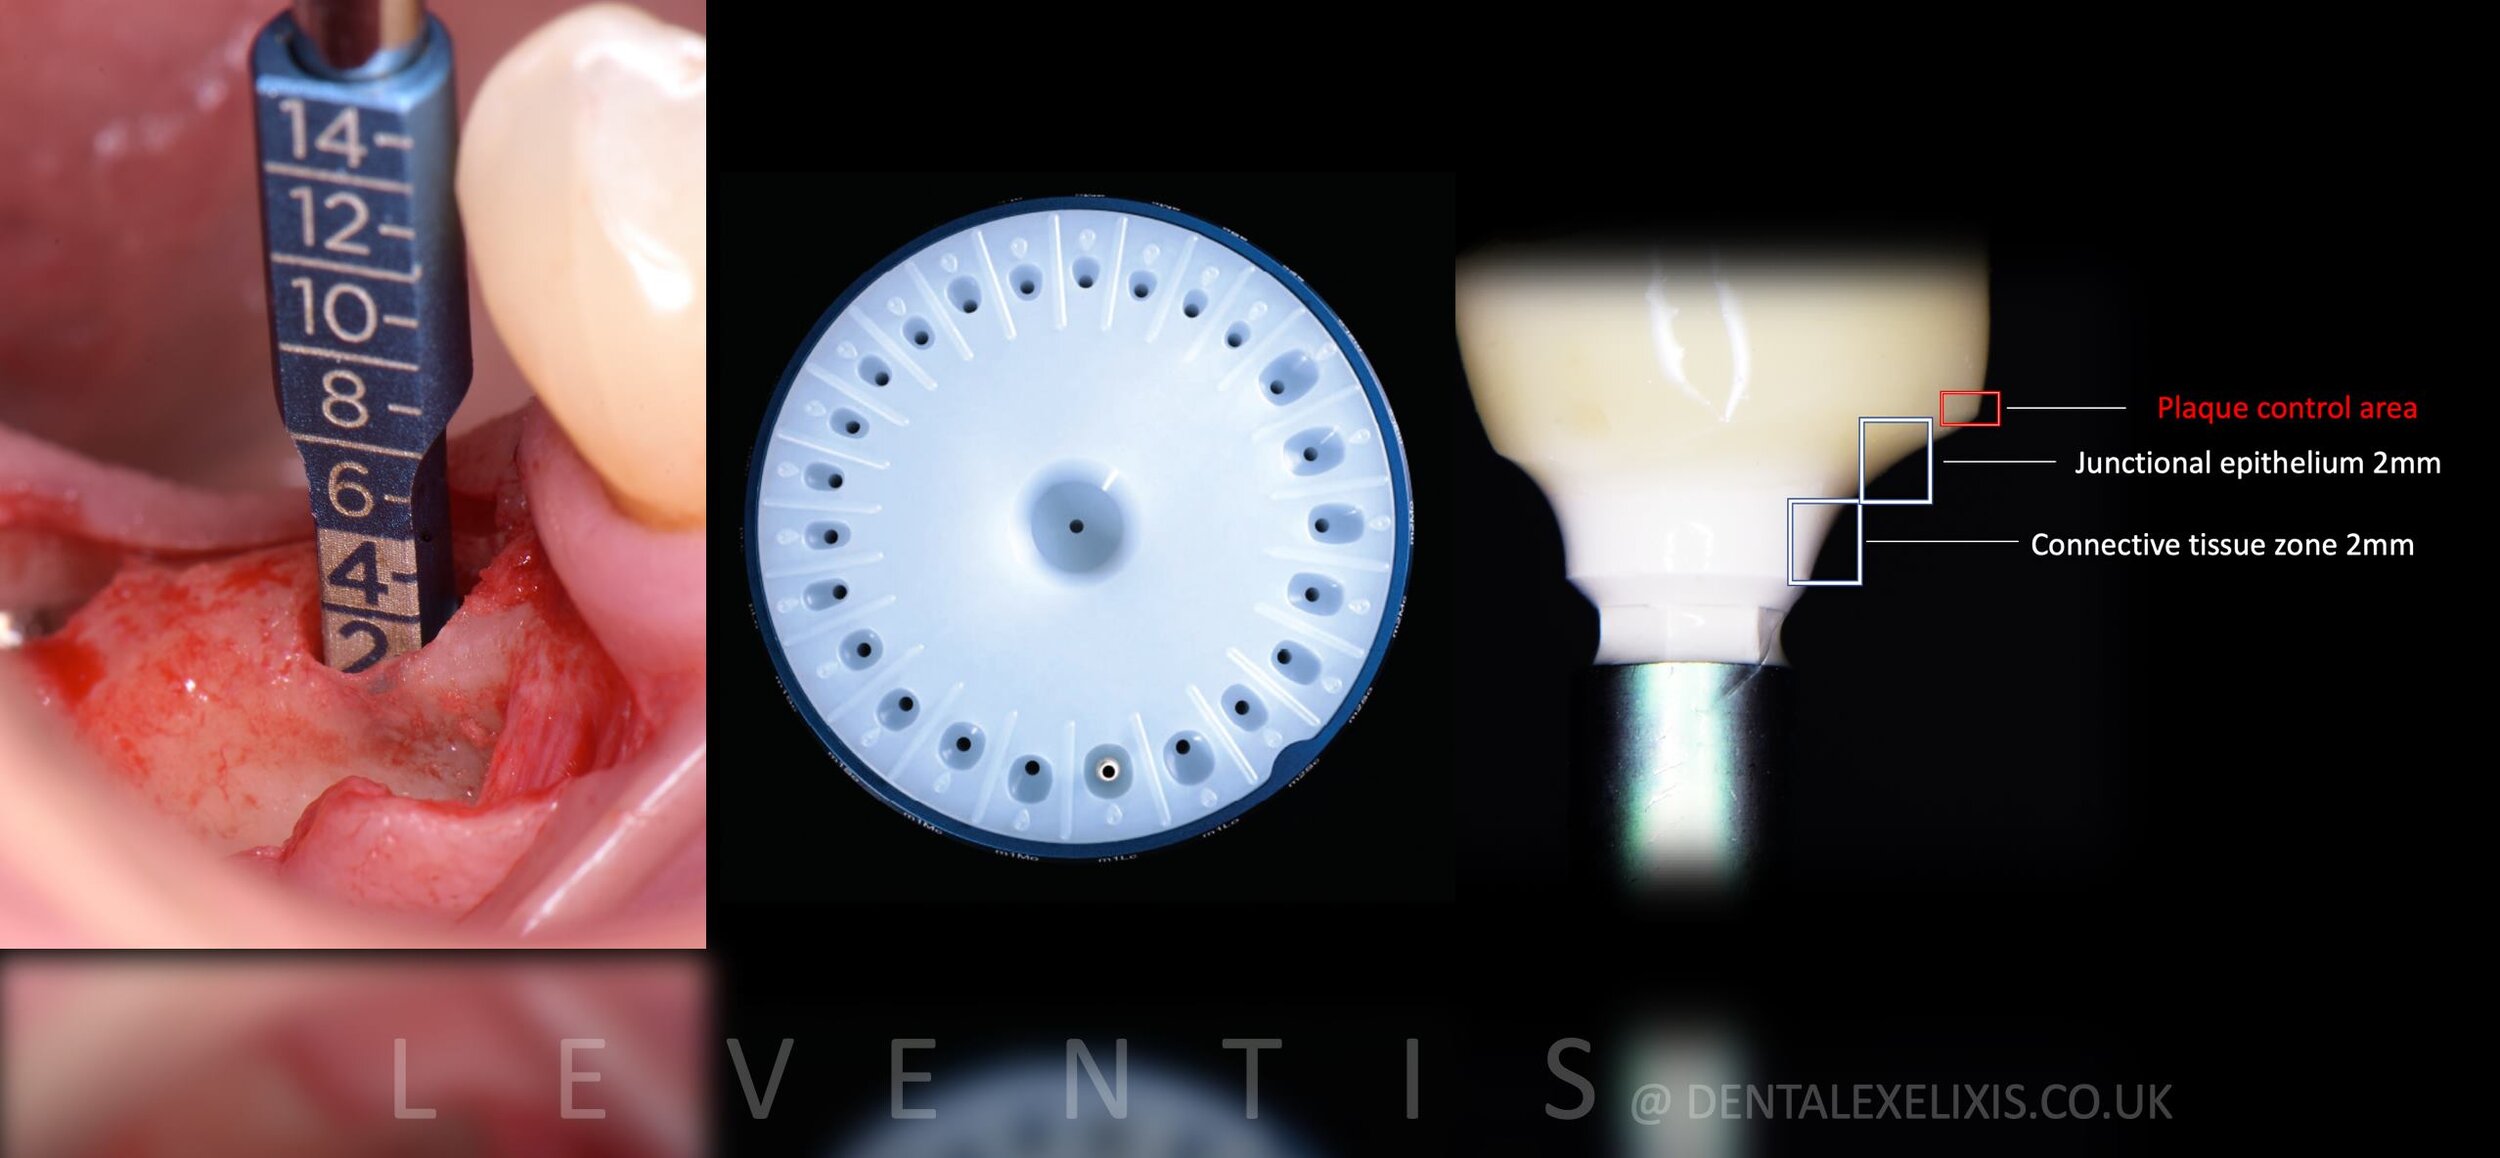
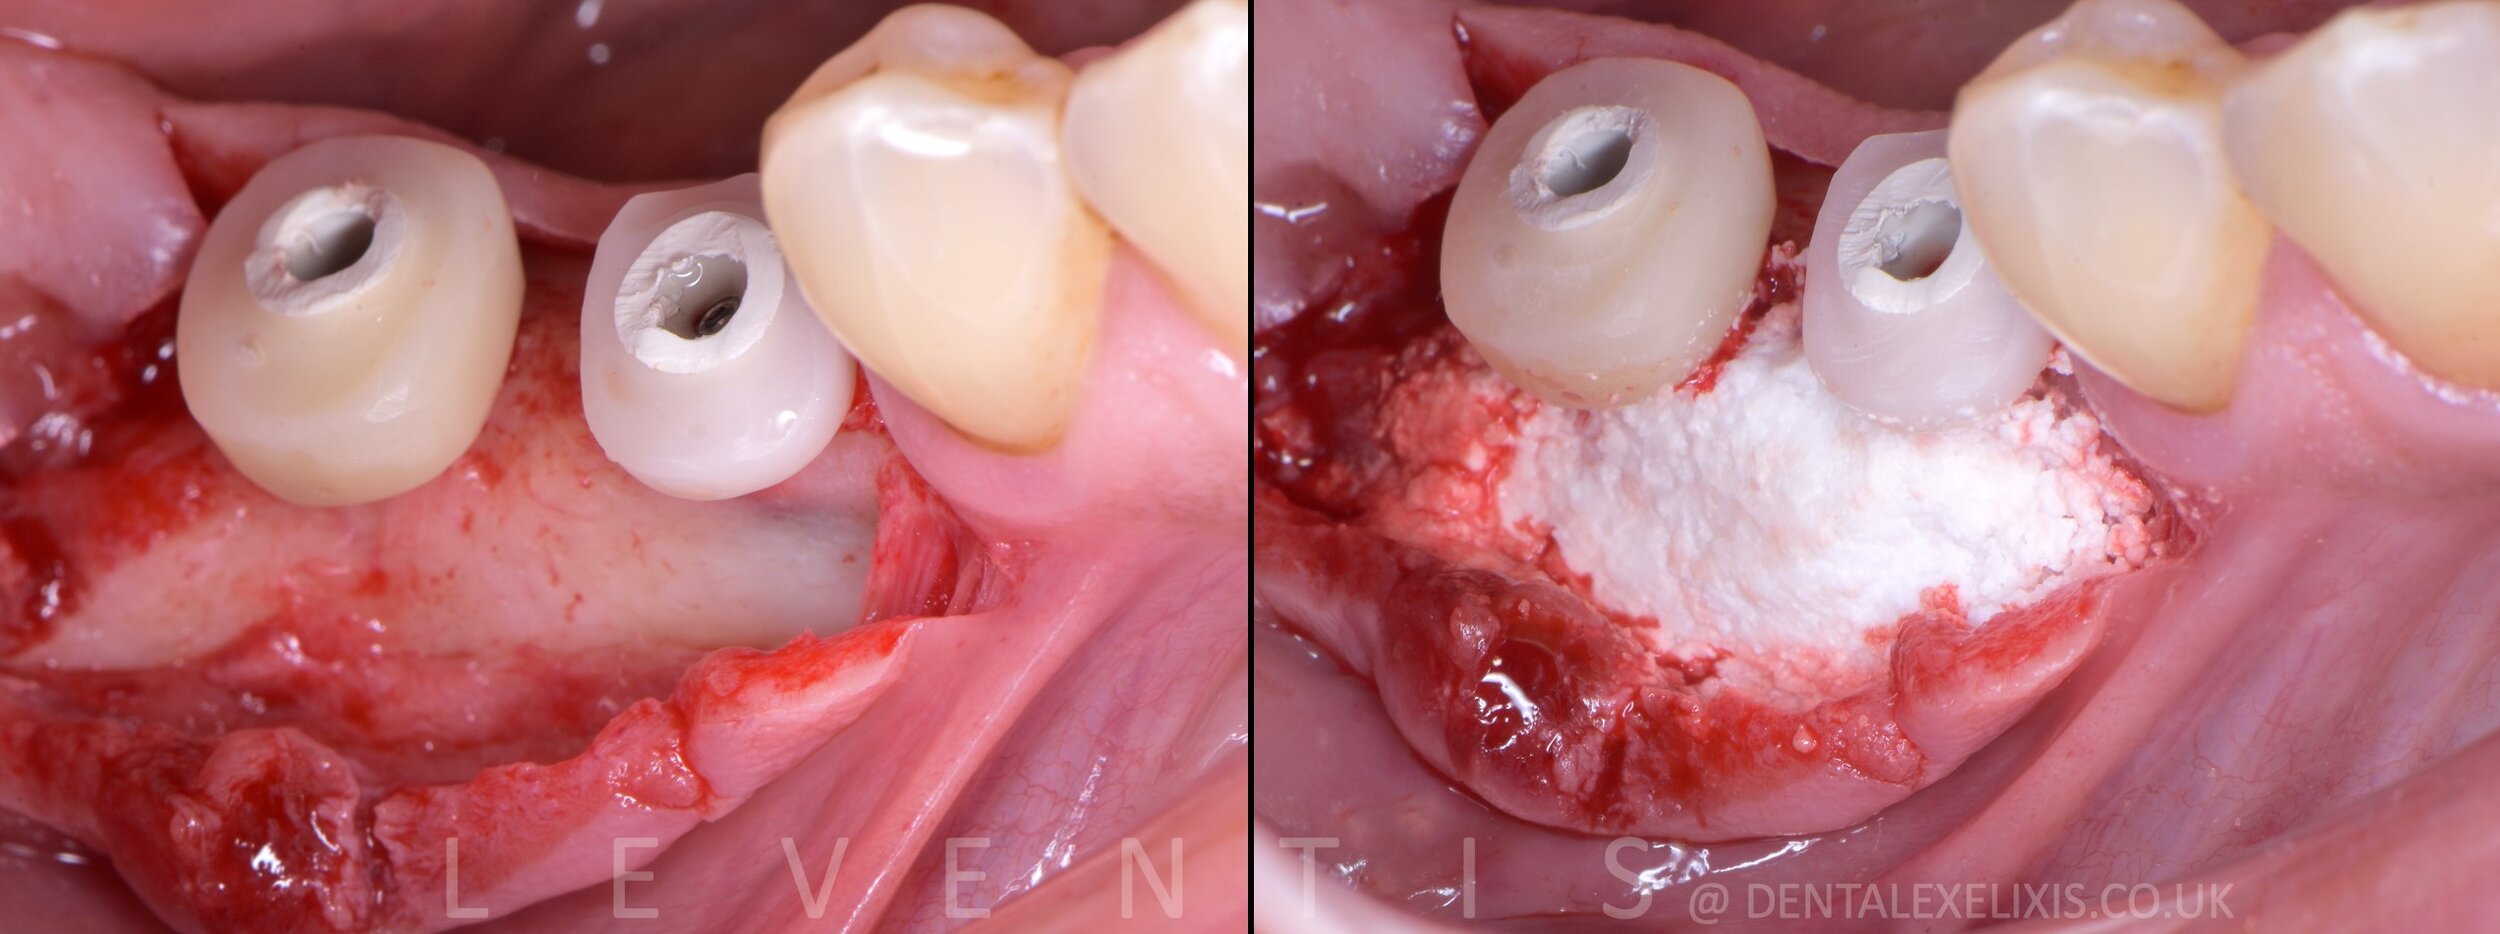
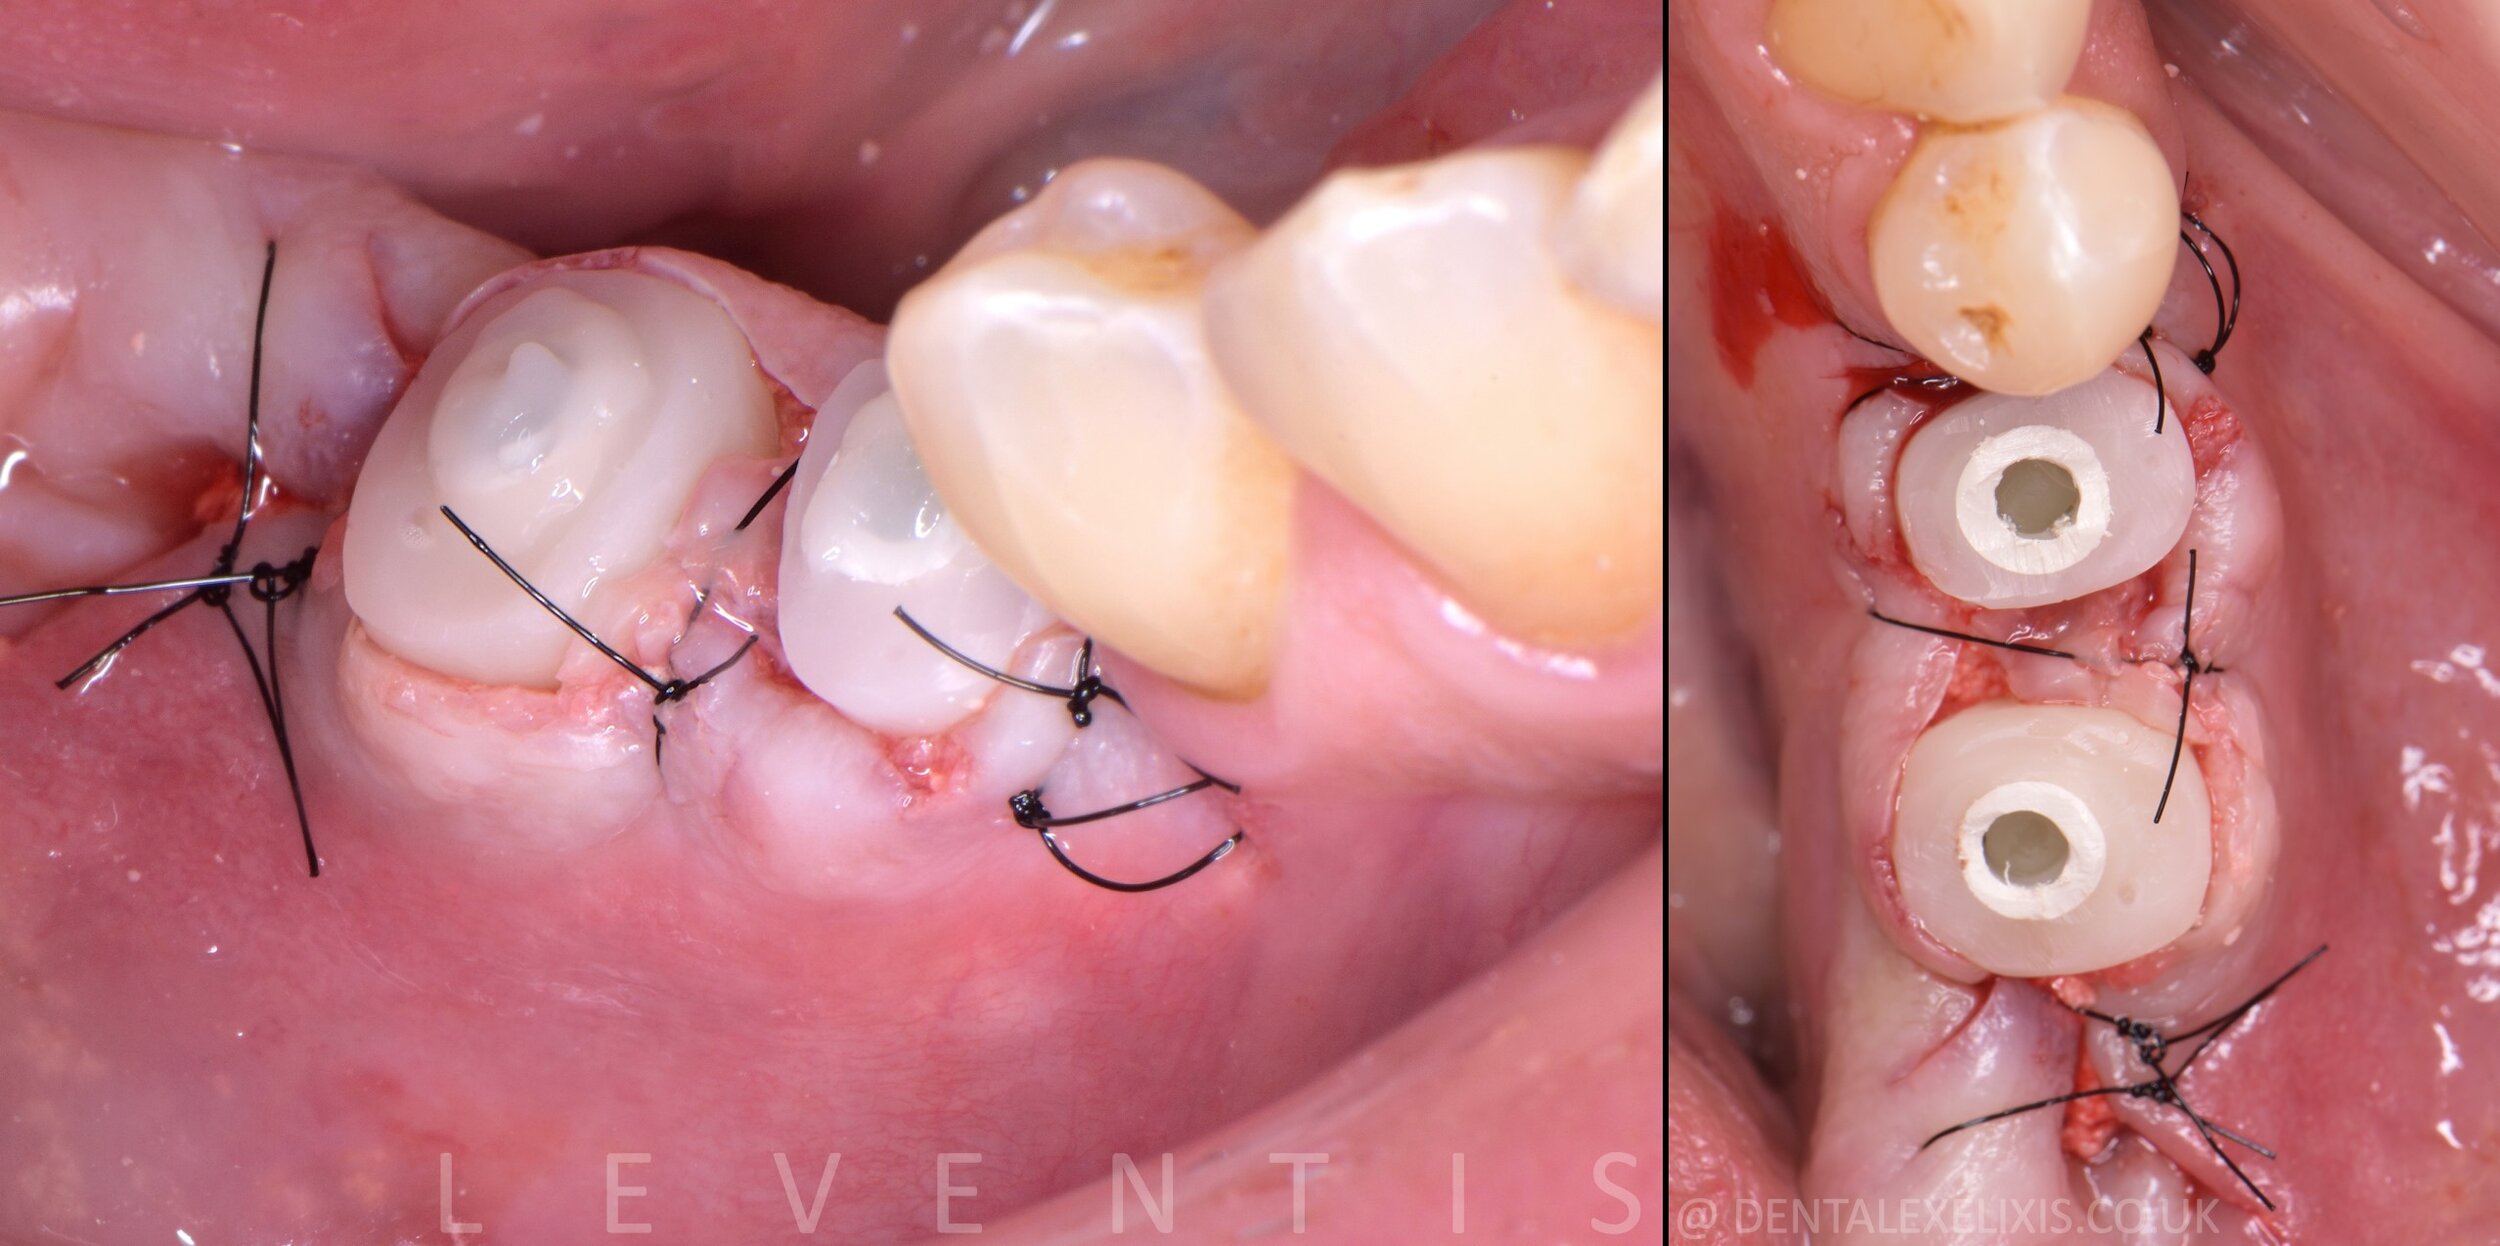
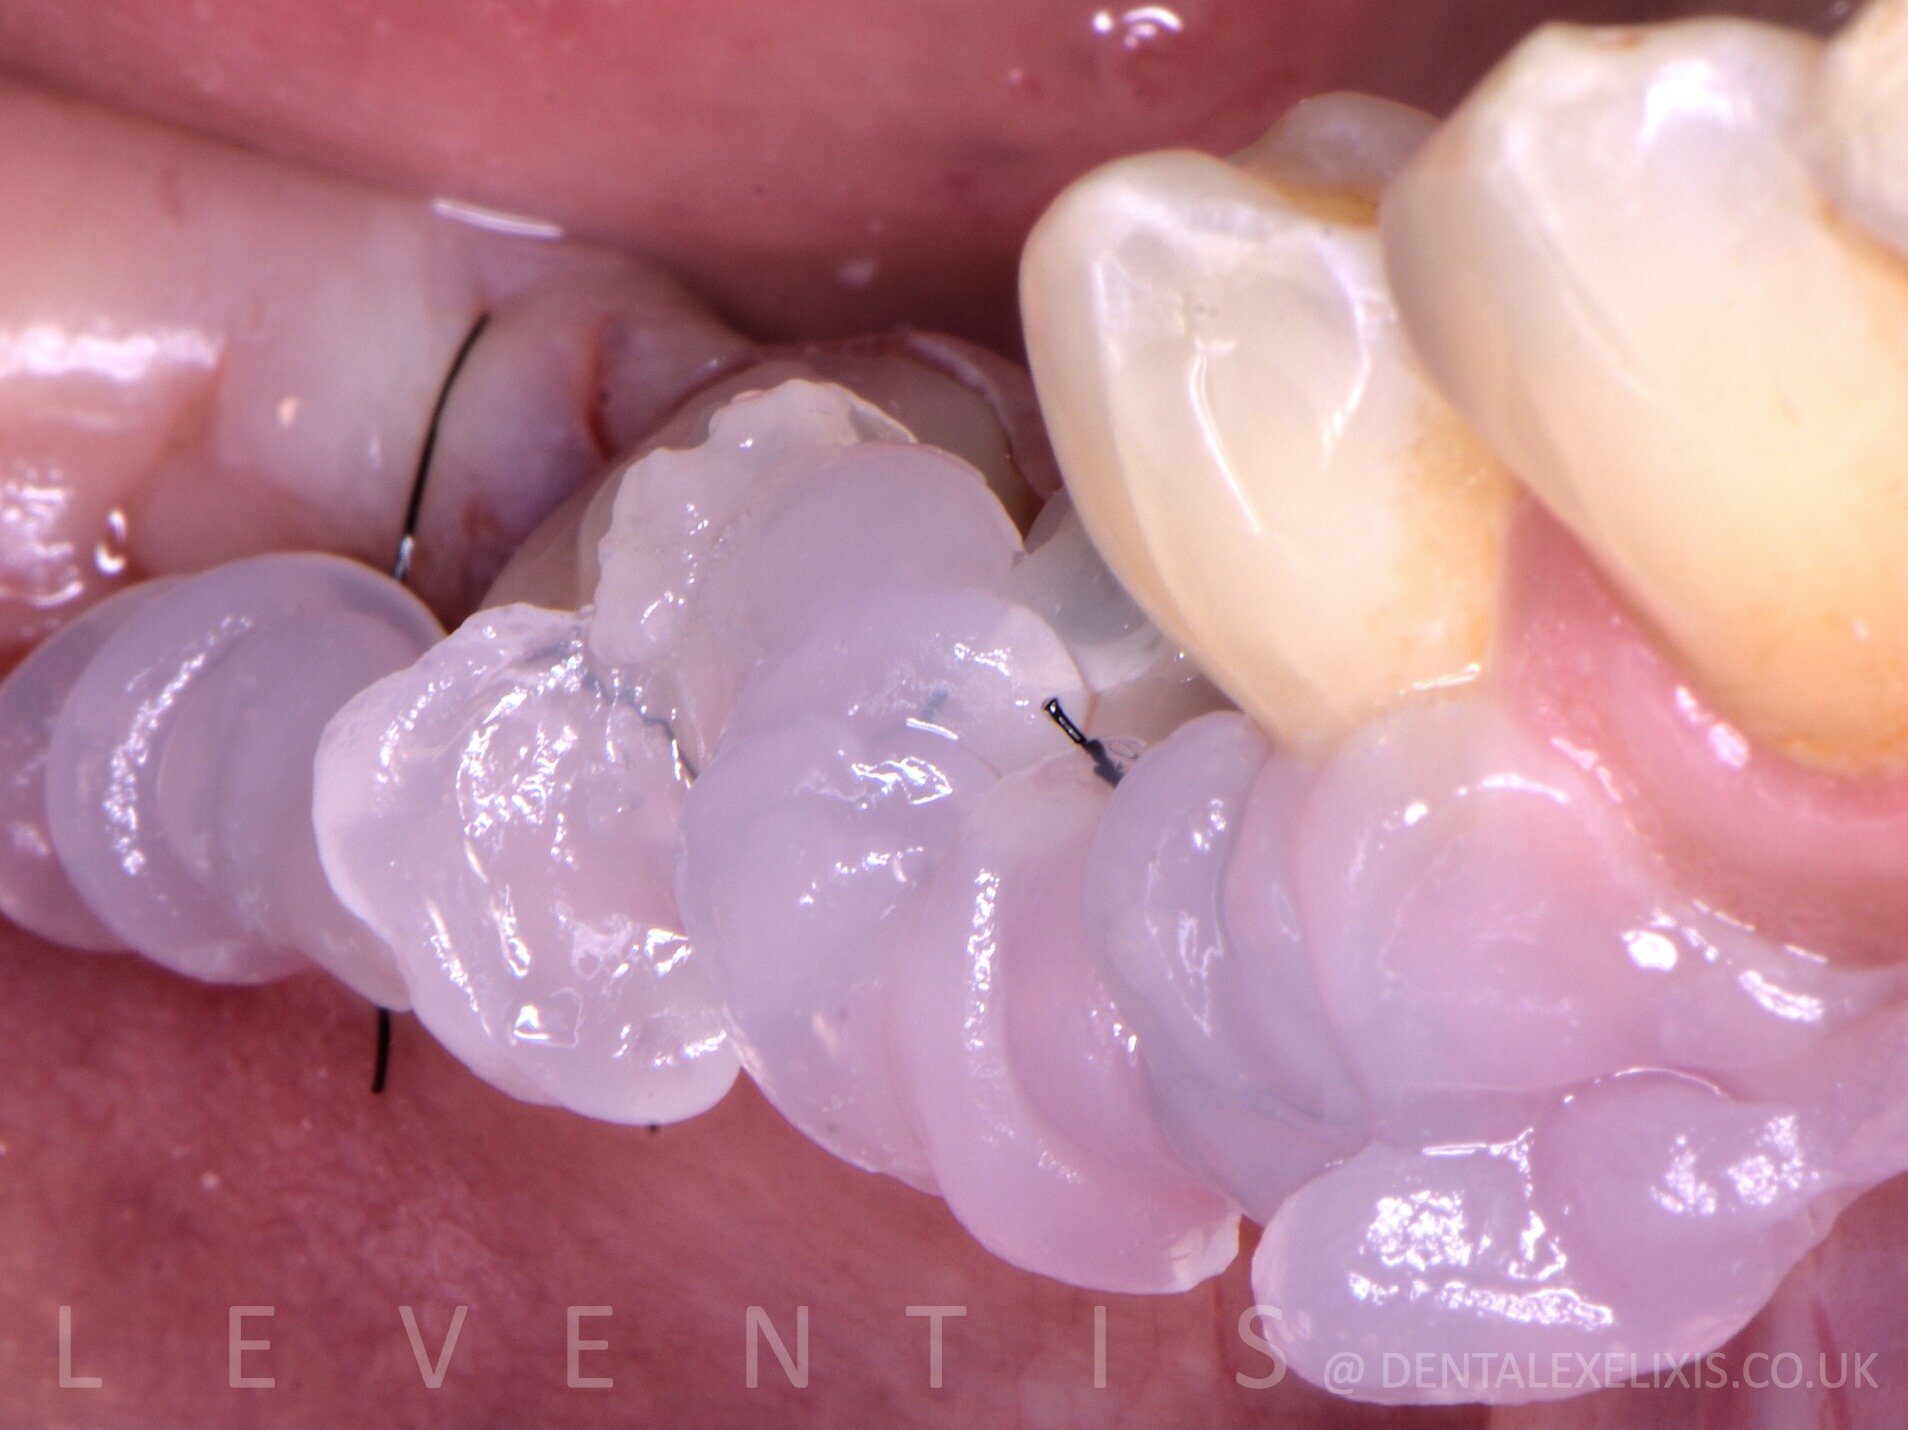
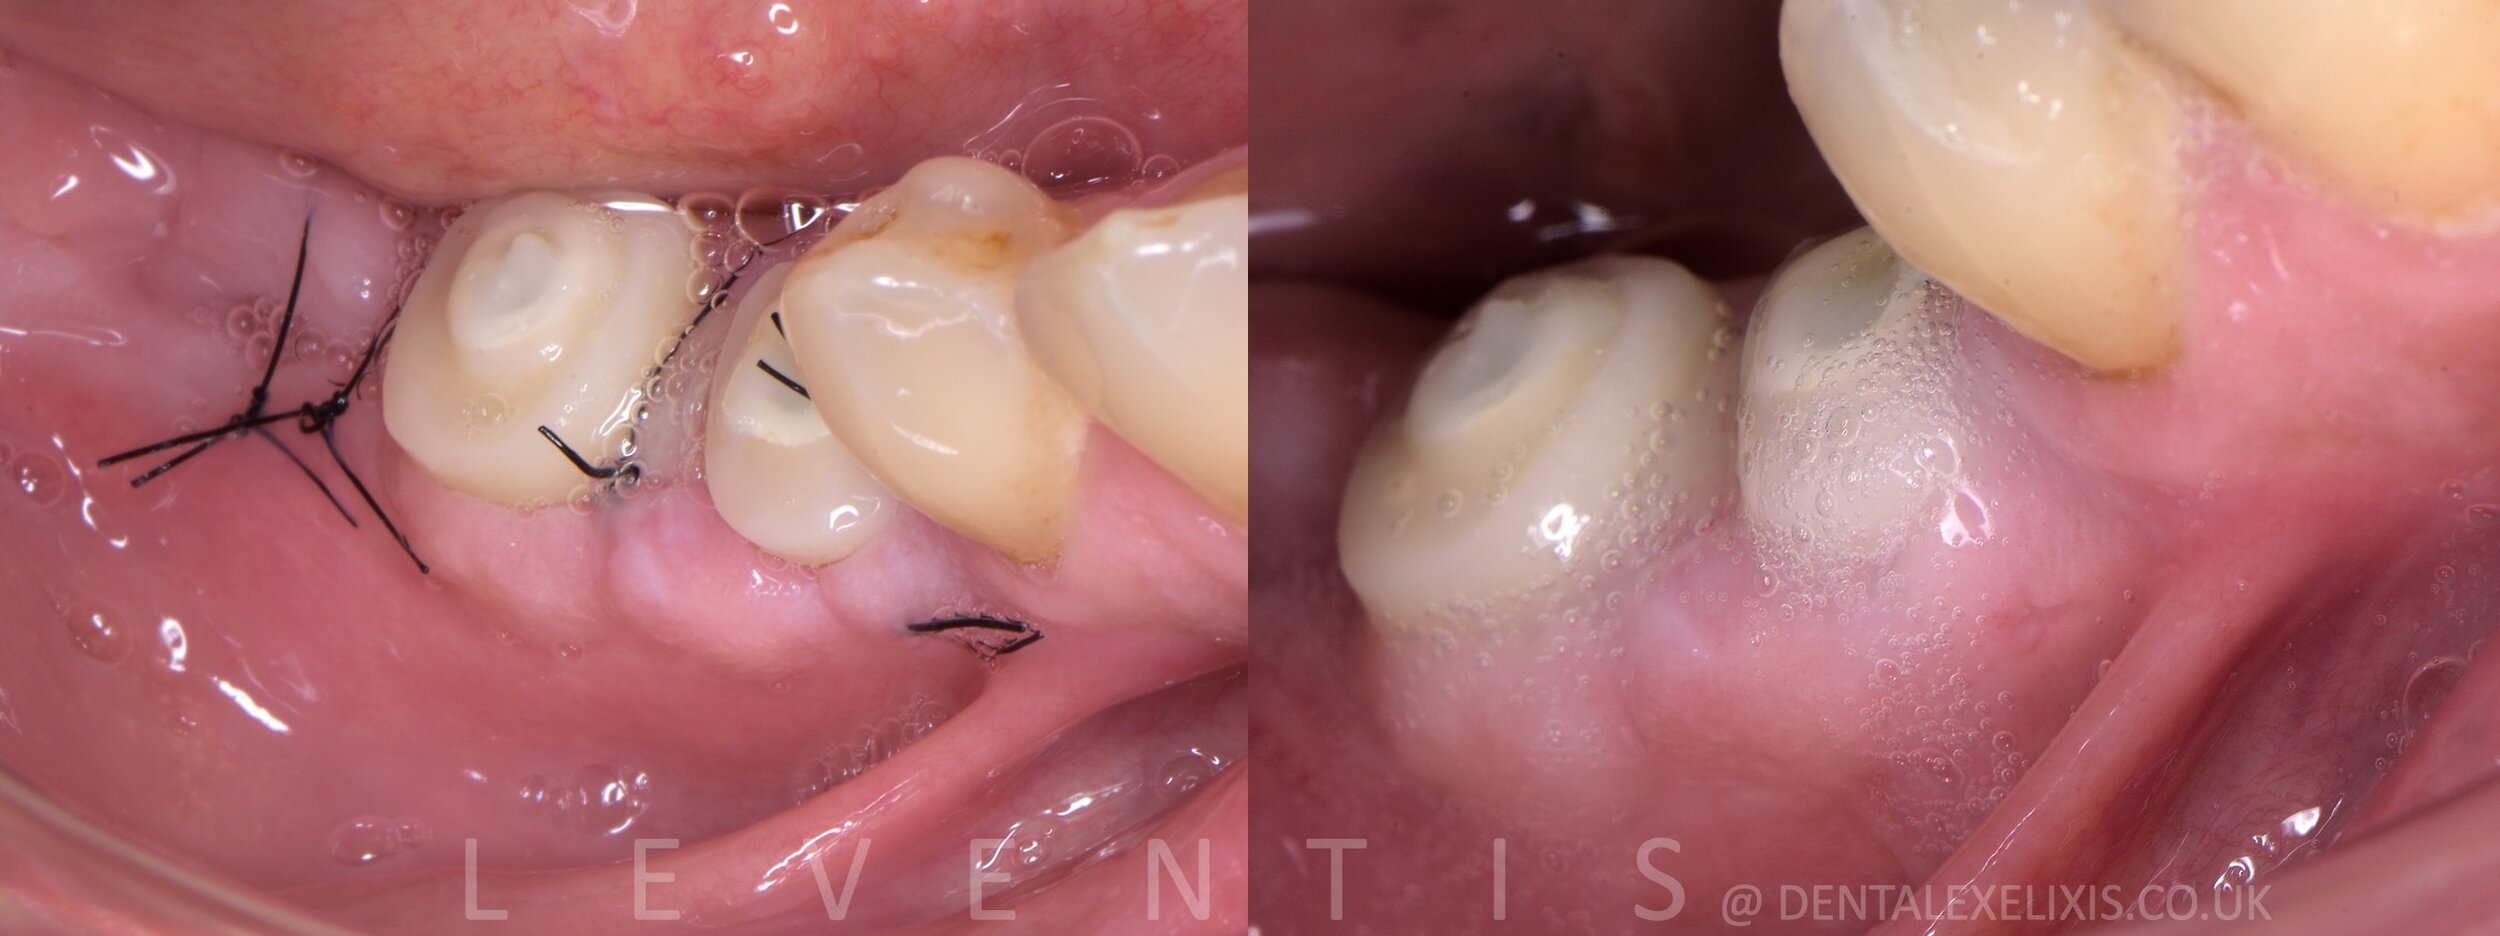
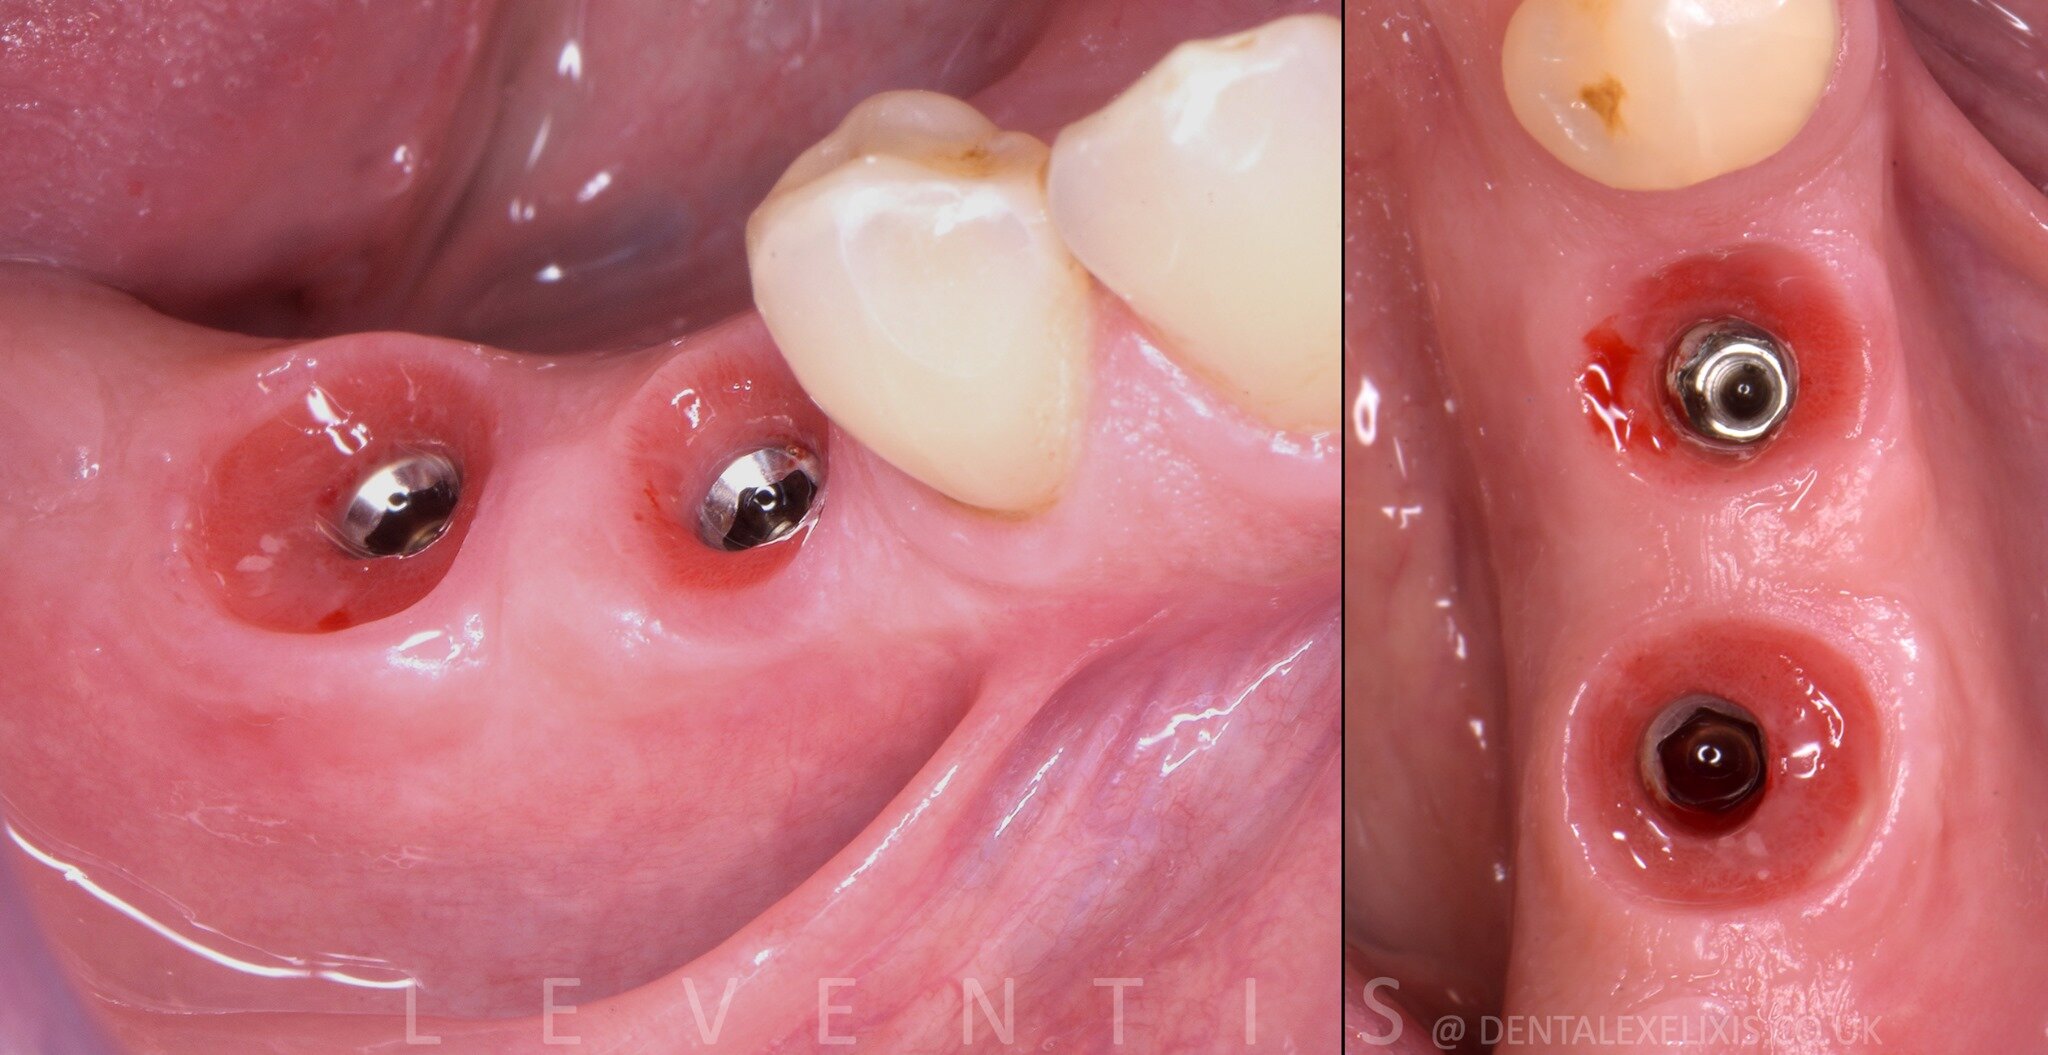
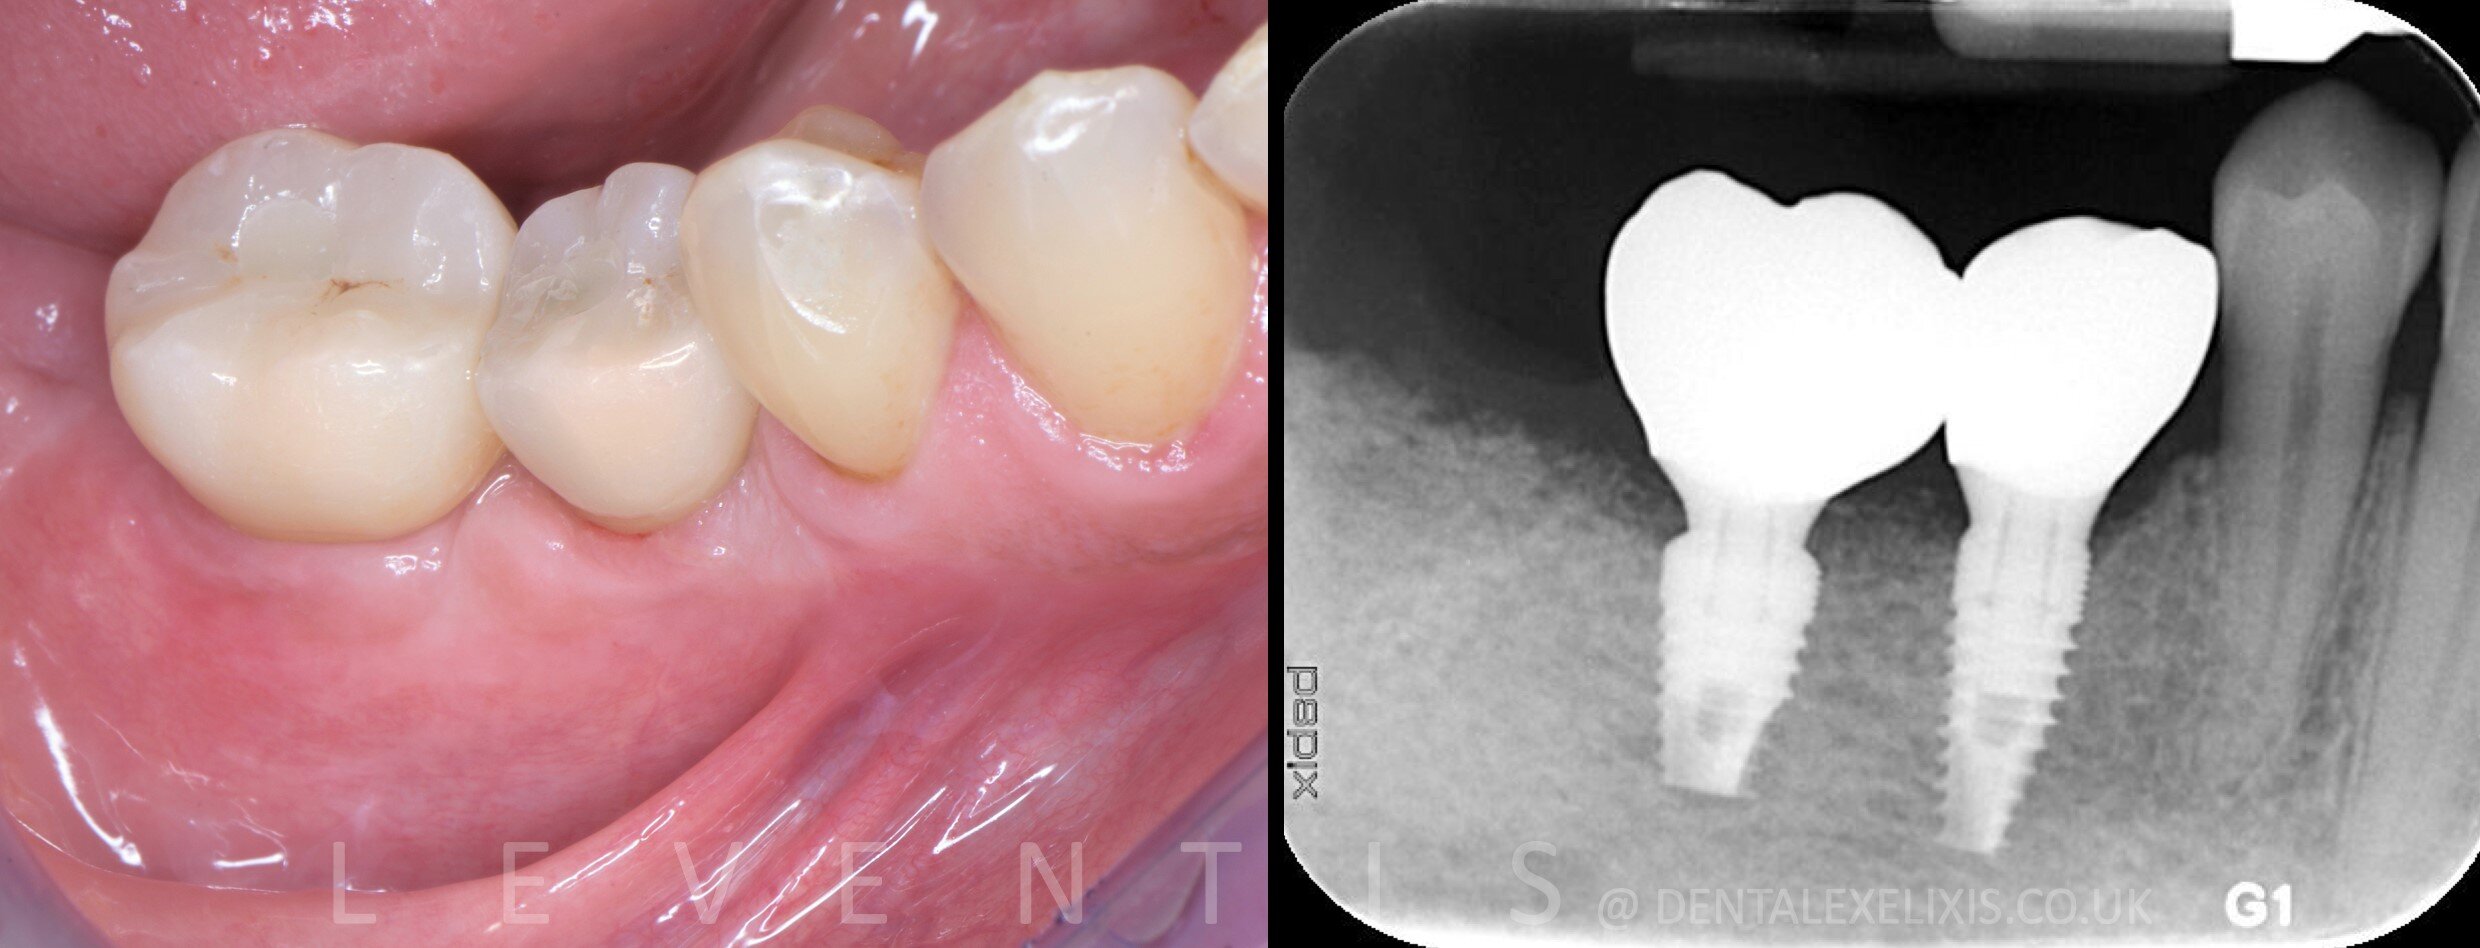
The custom healing abutments act as a prosthetic seal over the graft and, at the same time, redesign and augment the soft tissue into a proper emergence profile. The Guide did three jobs before the drill touched bone: profile selection, osteotomy marking and space verification.
Materials: Keystone Paltop Dynamic implants · Cervico Guide, pins and depth gauge · Cervico Mold · b-TCP / calcium sulfate · SKD monofilament 5-0 · SilverPlug · Bluem gel
Credit: Case and images: Dr. Minas Leventis · Laboratory: Phill Reddington, Beever Dental Laboratory. Full case as published by the clinician; patient details are not disclosed.