Clinical case · VPI Pilot Drill Kit

Centre the osteotomy before the first drill turns

Dr. Ioannis Vergoullis

Delayed implant placement at position 12. The VPI Pilot Drill Kit sleeve centres and initiates the pilot osteotomy at the correct position and angulation, removing the inconsistency of the first drilling step. The rest of the sequence runs on the implant system’s own kit.
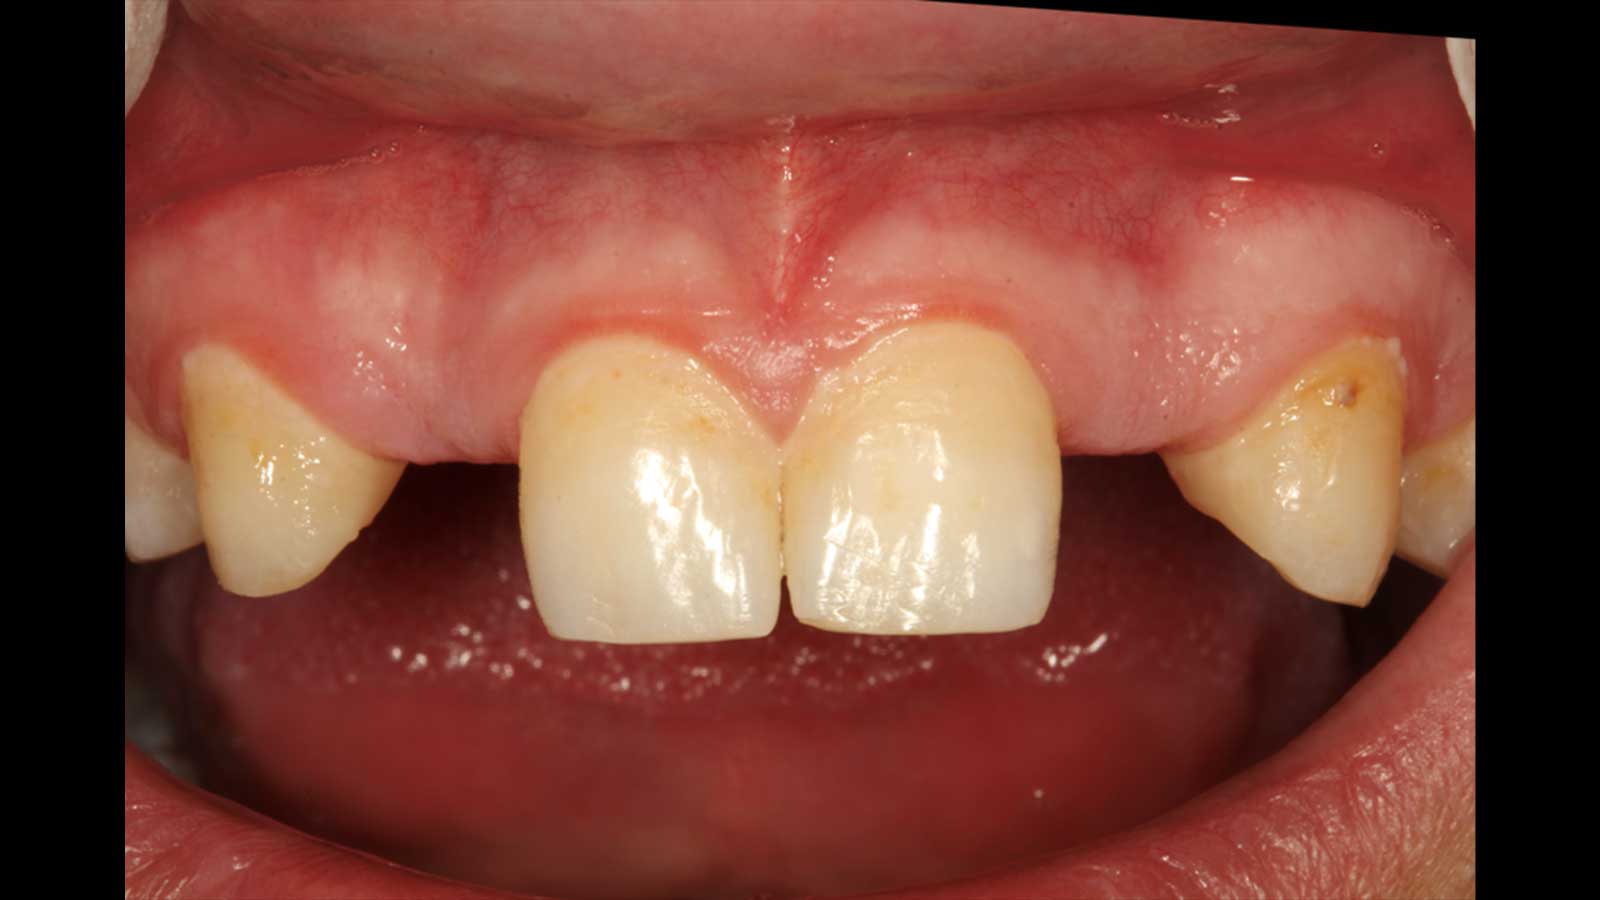
Healed edentulous site at position 12, ridge adequate for placement without augmentation.
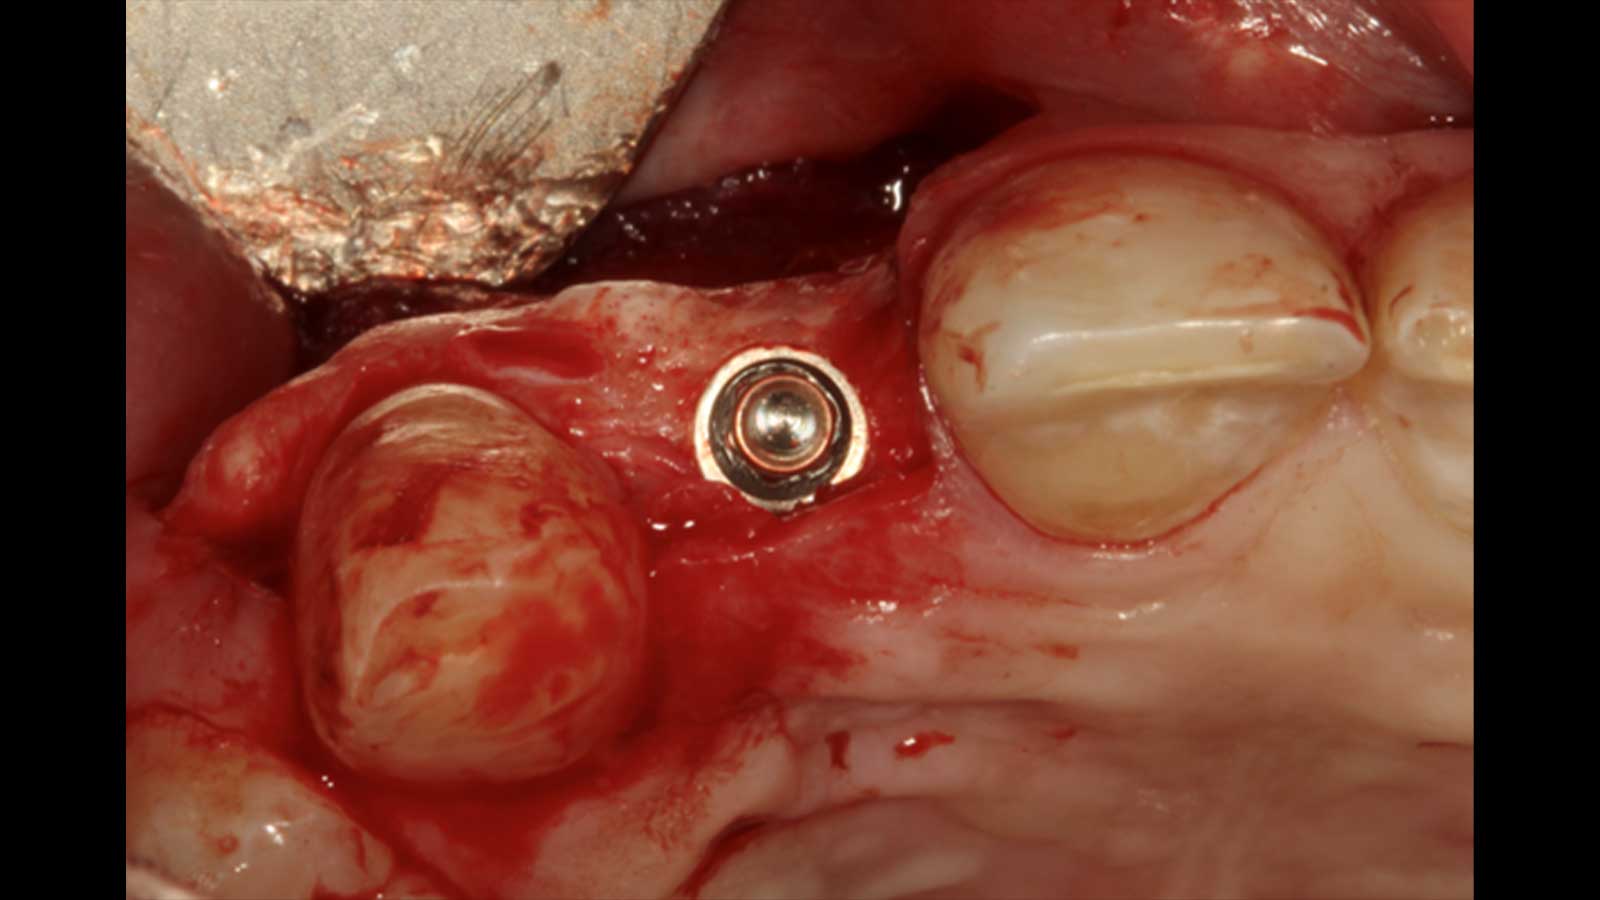
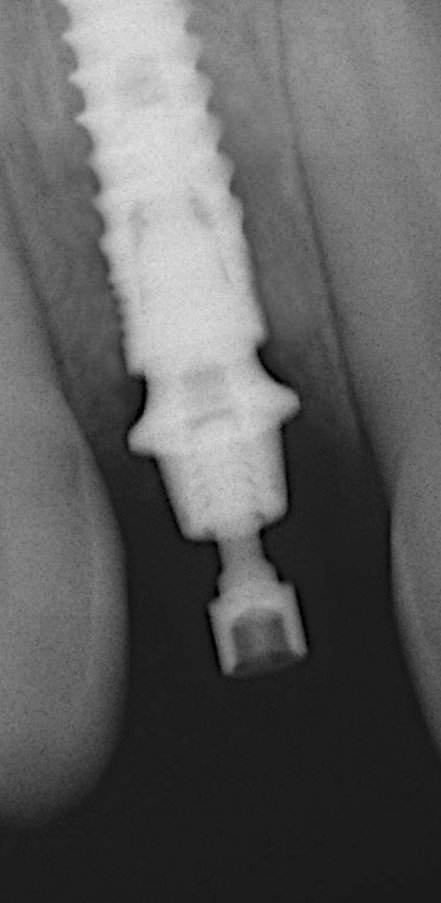
Implant seated at the planned depth, centred within the ridge.
Site

Position 12, healed ridge, delayed placement

Tool

VPI Pilot Drill Kit, sleeve #7I

What it fixes

Position and angulation of the pilot osteotomy

Then

Standard drilling sequence of the implant system

Augmentation

None required

Result

Centred placement at the planned depth

Four steps

  1. Centre the osteotomy before the first drill turns

    STEP 01

    Healed edentulous site at position 12 with adequate ridge dimensions. Flap raised.

  2. Centre the osteotomy before the first drill turns

    STEP 02

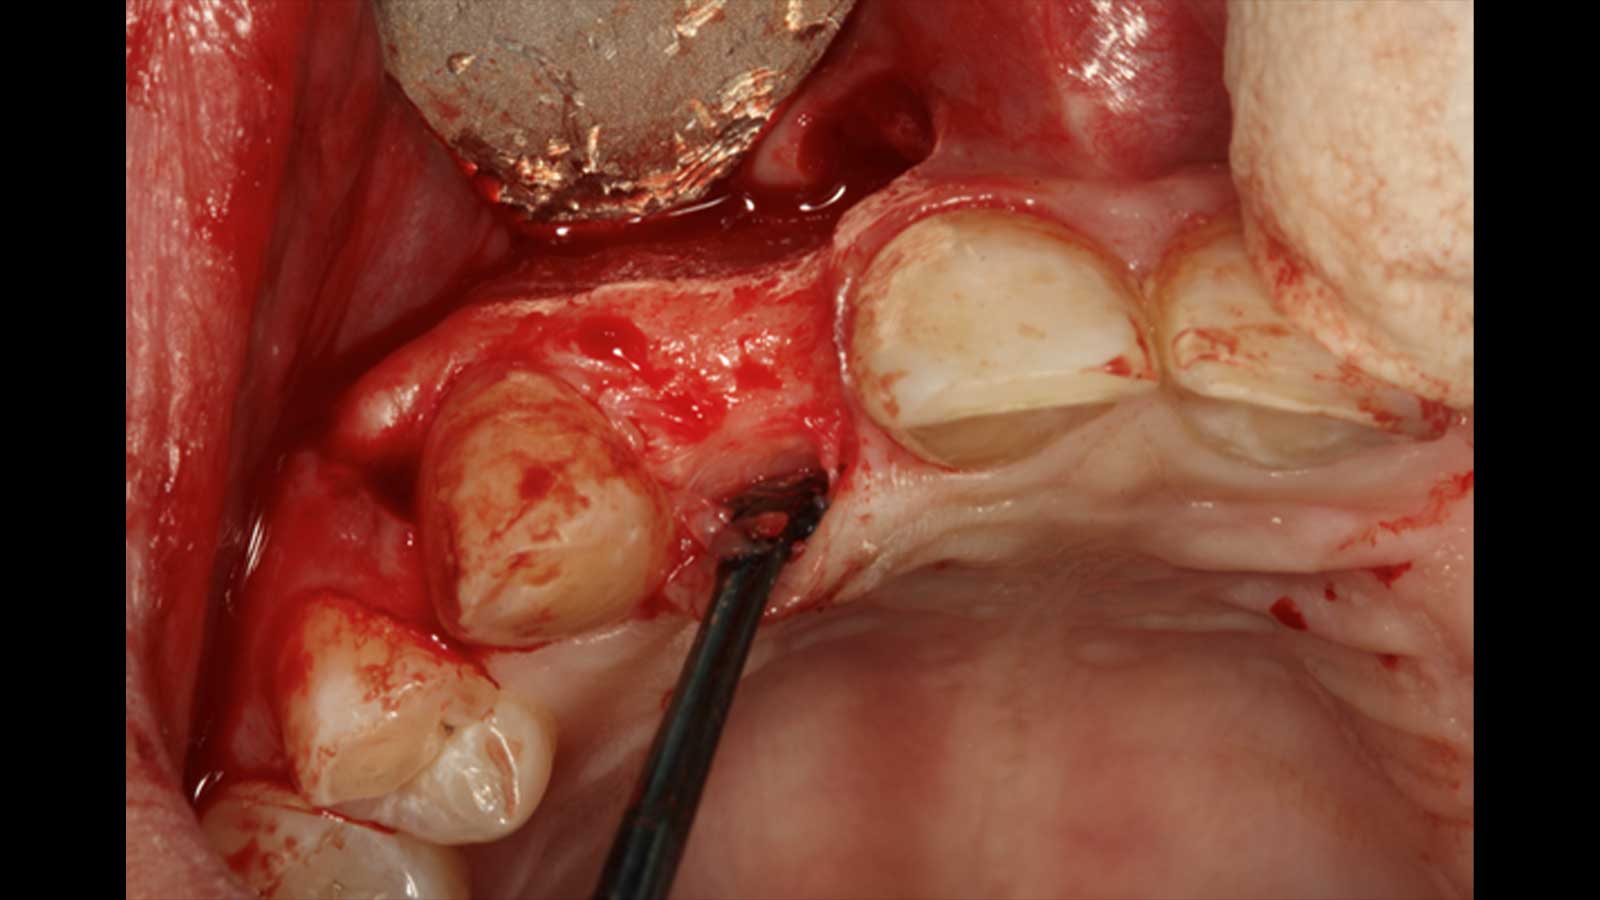
    Sleeve #7I centres and initiates the pilot osteotomy at the correct position and angulation, setting the trajectory for the entire drilling sequence.

  3. Centre the osteotomy before the first drill turns

    STEP 03

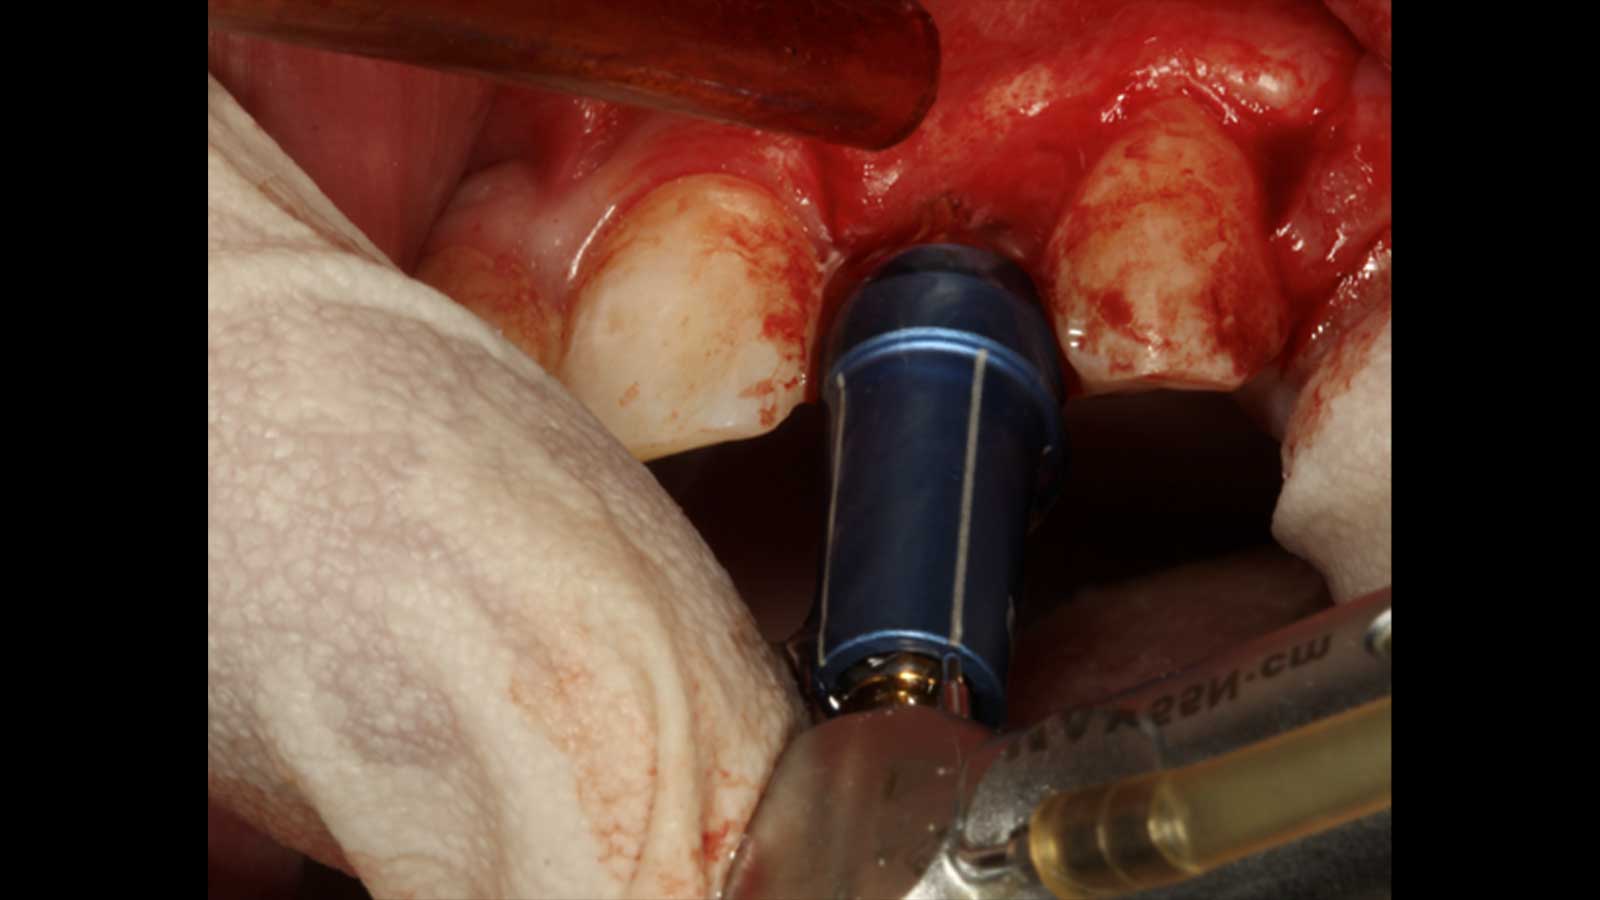
    With the trajectory established, the remaining drilling uses the implant system’s standard kit. The implant is placed into the centred osteotomy.

  4. Centre the osteotomy before the first drill turns

    STEP 04

    Final position: seated at the planned depth, centred within the ridge.
What it shows

Everything downstream of the pilot drill inherits its position and angle. Fixing that one step with a sleeve is cheaper and simpler than a full surgical guide, and it pairs with the Cervico Guide’s tabs for space evaluation.

Materials: VPI Pilot Drill Kit · Implant system standard surgical kit
Credit: Case and images: Dr. Ioannis Vergoullis. Full case as published by the clinician; patient details are not disclosed.
Clinical case and images: Dr. Ioannis Vergoullis. Published on vpicervico.com with the clinician's permission. Patient details are not disclosed.

Products used in this case

VPI Pilot drill kit View productVPI Pilot drill kit Cervico Essential Kit View productCervico Essential Kit

Six clinical scenarios. A clearer plan for the emergence profile.The free Emergence Profile Playbook: limited space, off-centre implants, molar sites, deeper platforms, tissue challenges and the provisional workflow, with documented cases and the Cervico workflow.

Get the playbook
Find your Cervico Download this case as PDF All cases

New to the technique? Read custom healing abutments: four ways to make one, compared, or start with what a healing abutment is.

One documented case cannot isolate the contribution of a single component. Read the full sequence, including the other interventions, before applying any step.